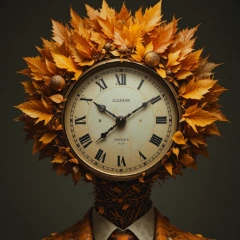
Creating a standout character in PicLumen requires more than just a good prompt; it requires an understanding of how light and shadow interact to build a mood. In this guide, we will explore how to use the "Reality" and "Art" models to craft high-quality cyberpunk portraits with professional-grade lighting.
1. Choosing Your Foundation
For a cinematic portrait, start by selecting the
PicLumen Realistic V2
or Reality model. These models excel at handling complex light interactions like sub-surface scattering on skin and metallic reflections.
2. Crafting the "Neon-Noir" Prompt
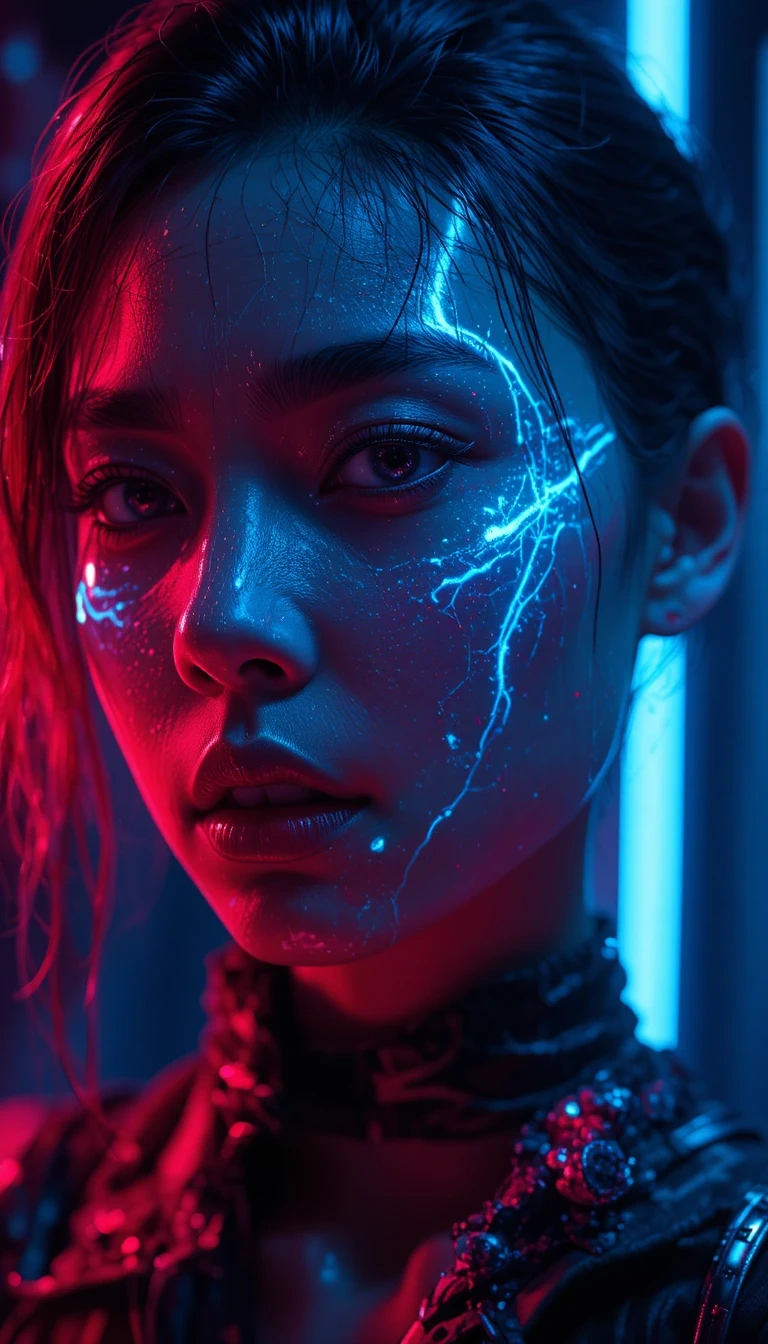
The key to the cyberpunk aesthetic is the contrast between deep shadows and vibrant neon highlights. Use keywords that define specific lighting styles:
Volumetric Lighting: Adds depth and a sense of atmosphere (fog/haze).
Rim Lighting: Highlights the character's silhouette against a dark background.
Dual Tone: Use "cyberpunk palette" or "pink and cyan lighting" for that classic 80s-future look.
Example Prompt:
Close-up portrait of a futuristic woman, cybernetic facial implants, wearing techwear, cinematic volumetric lighting, neon pink and electric blue rim light, rainy street background, high detail, 8k resolution.
3. Leveraging Character Reference (Character Ref)
To maintain consistency across multiple generated images, utilize the Character Ref tool. Upload a base image of your character, and PicLumen will keep the facial features and hair consistent while you experiment with different environments or lighting setups.
4. Advanced Refinement
Negative Prompts: Exclude unwanted elements like "blurry," "low resolution," or "deformed hands" to ensure a clean output.
Upscaling: Once you have your perfect shot, use the Image Upscaler to boost the resolution for a professional finish.