I’ve been seeing this style of AIGC fashion video everywhere lately: a model walks through the city, something unexpected happens, a few products fly into the air, and the scene suddenly drops into bullet time while the camera moves around them.
It looks like a pretty complicated ad setup, so I wanted to see how close I could get using PicLumen Image to Video.
For my version, a fashion model is walking down a sunny city street while talking to her ex. Another pedestrian lightly bumps into her, her sunglasses, handbag, and phone slip away, and the whole moment freezes for a few product close-ups.
The workflow was much simpler than the finished video looks.
What I Prepared
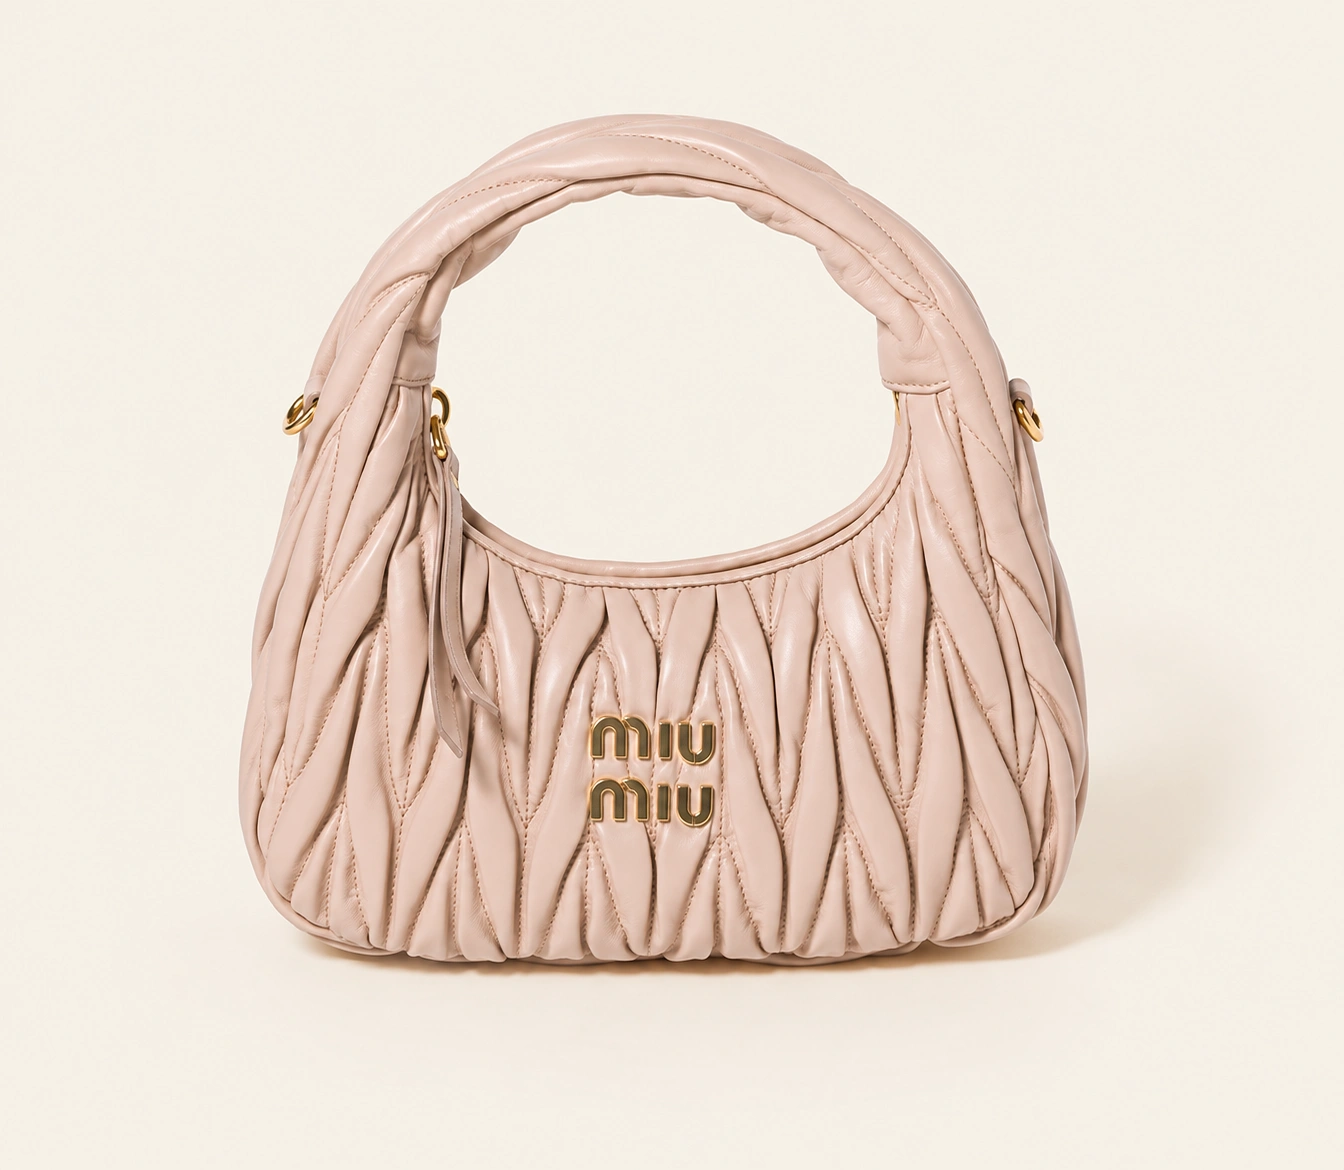
I used 5 reference images:
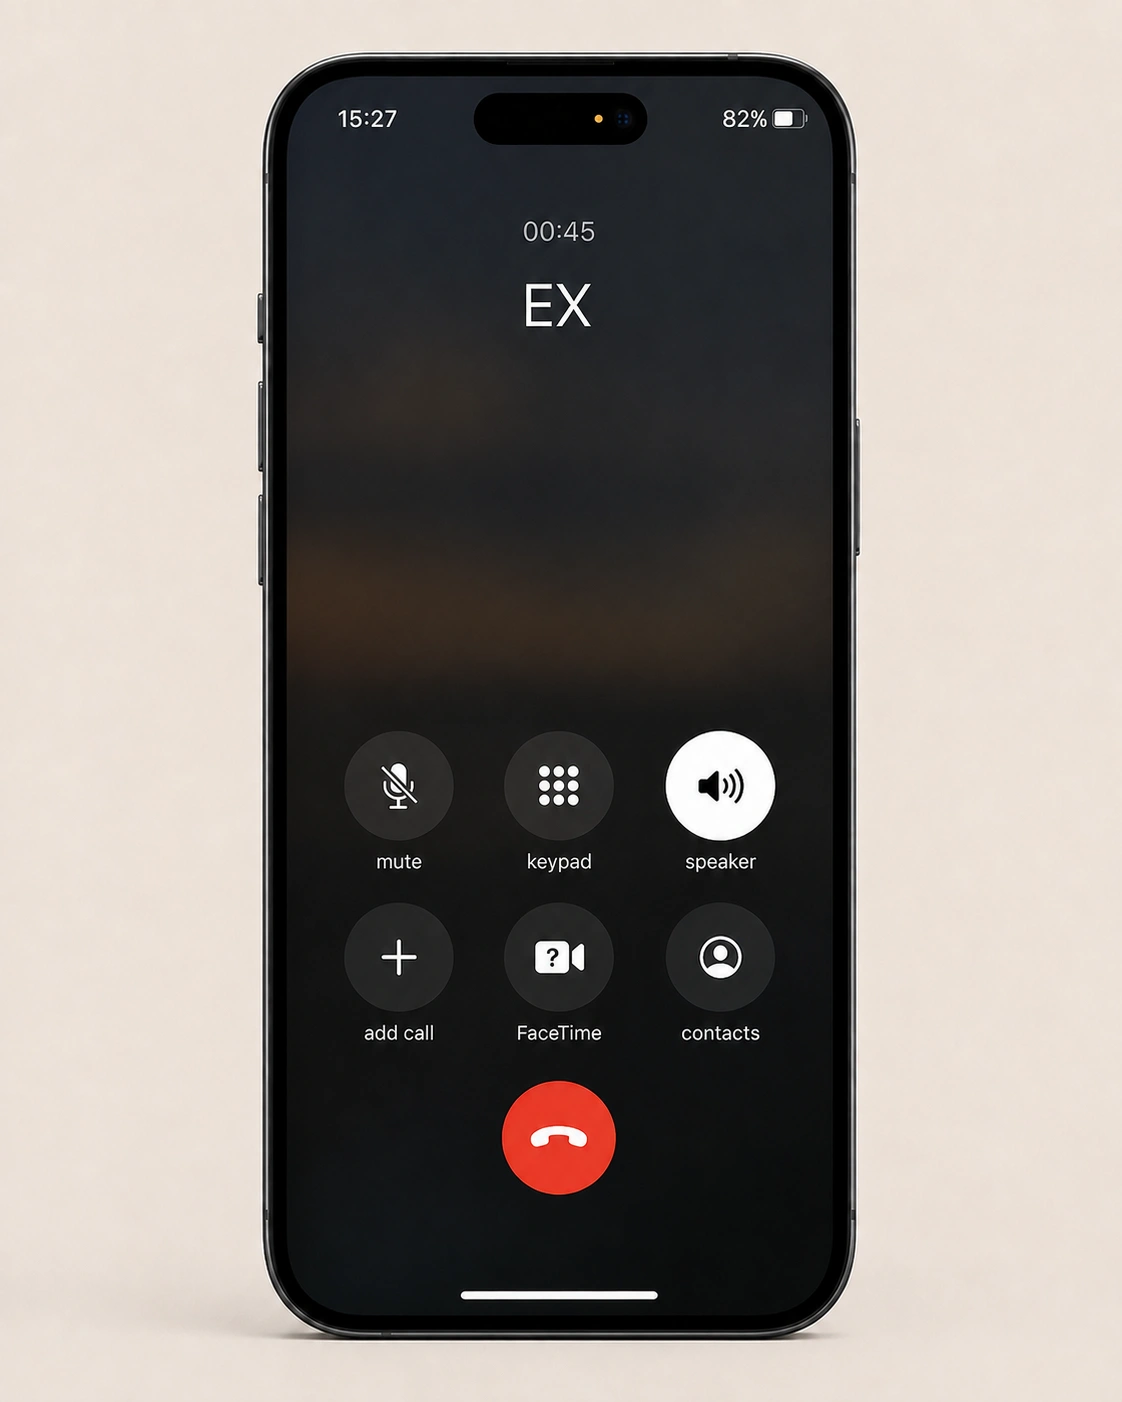
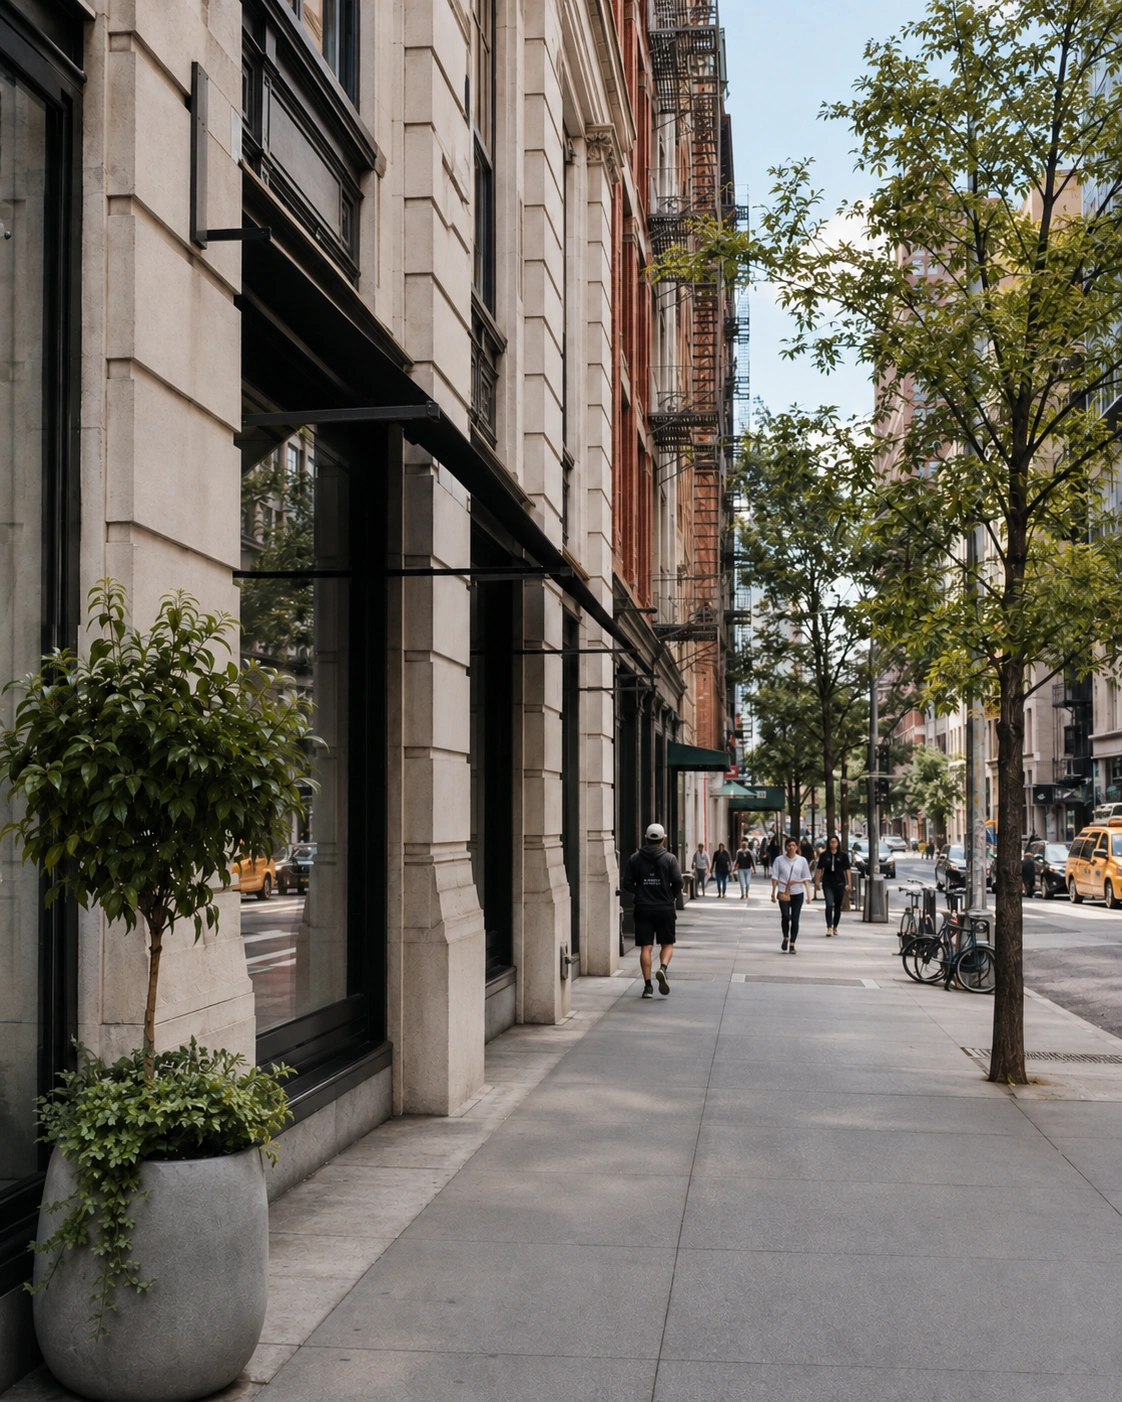
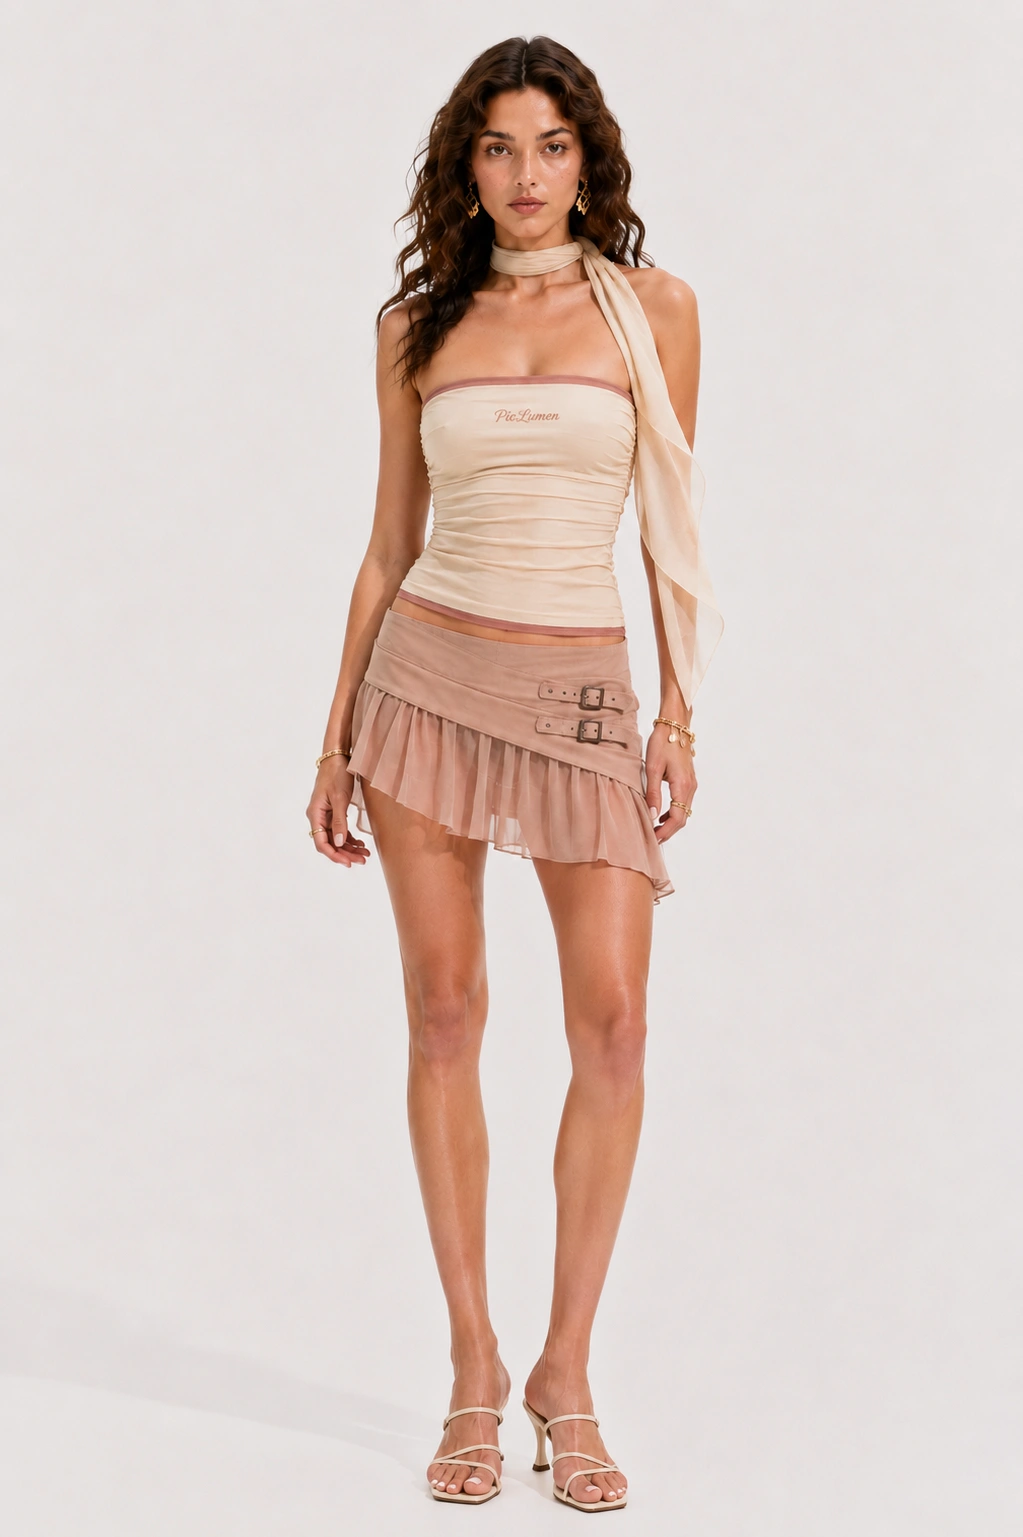
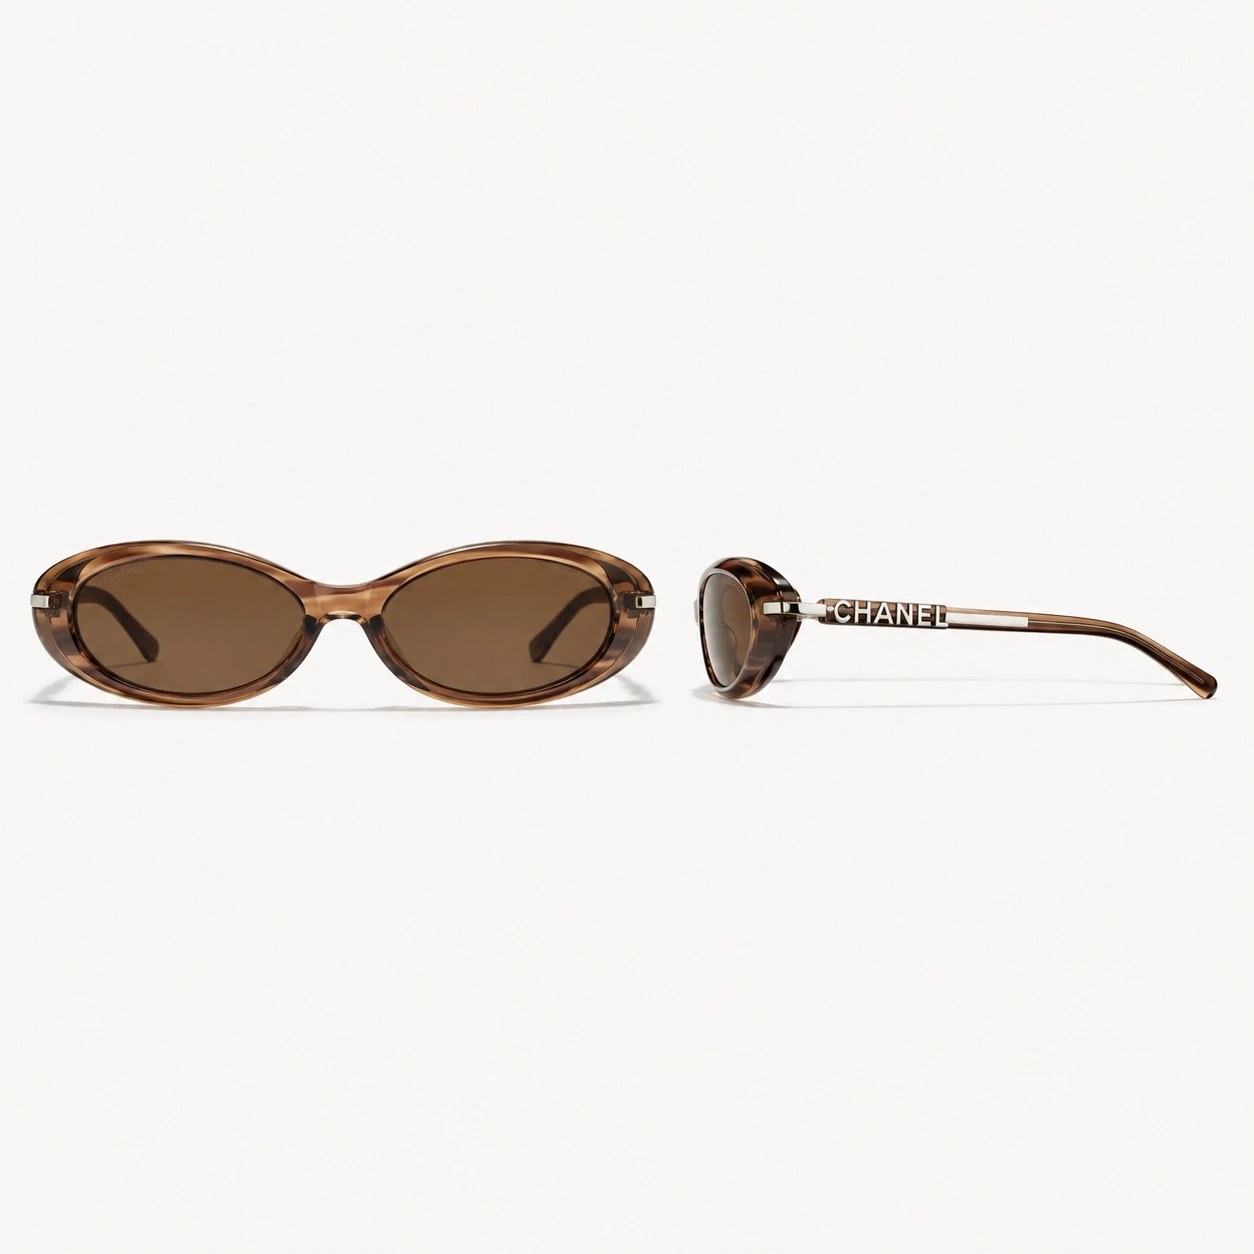
an iPhone showing an active call with EX | a sunny Western city street | a full-body fashion model | a pair of Chanel sunglasses | a miumiu handbag |
|---|---|---|---|---|
 |  |  |  |  |
For this kind of AI fashion video, the references matter a lot.
A clean full-body model image helps with the face, hairstyle, outfit, shoes, jewelry, and body proportions. For the products, clear images make details like leather texture, frame shape, hardware, and logos easier to preserve once the camera gets close.
How to Recreate This AIGC Fashion Ad With PicLumen
Step 1: Prepare the Reference Images
I prepared the model, street, phone, sunglasses, and handbag before opening the video generator.
If there’s a product detail you want to show later in the bullet-time close-up, make sure it’s already visible in the reference.
That saves a lot of unnecessary prompt writing.
Step 2: Open PicLumen AI Video Generator
I opened the PicLumen AI Video Generator and used the Image to Video workflow.
Since the model, products, and environment were already established by the reference images, the prompt could focus mainly on movement, acting, timing, and camera direction.
Step 3: Choose Seedance 2.5
I used Seedance 2.5 for this version.
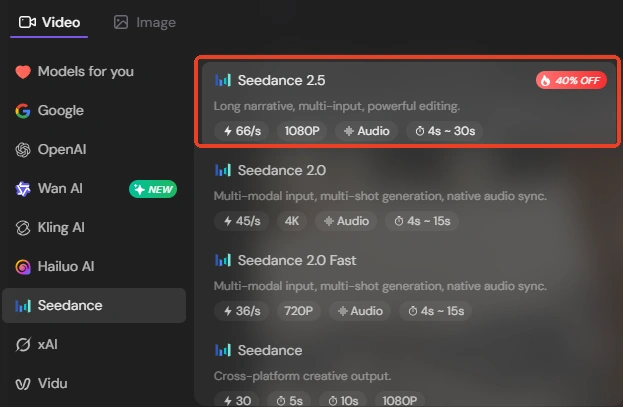
The scene has several actions inside one continuous sequence:
walking → phone call → collision → bullet time → product close-ups → time resumesSeedance 2.5 handled that structure well enough for this test.
I’d also recommend trying Wan 3.0 with the same references. If the first result struggles with the collision or body motion, it’s worth comparing another model before rewriting the whole prompt.
Step 4: Add the Reference Images
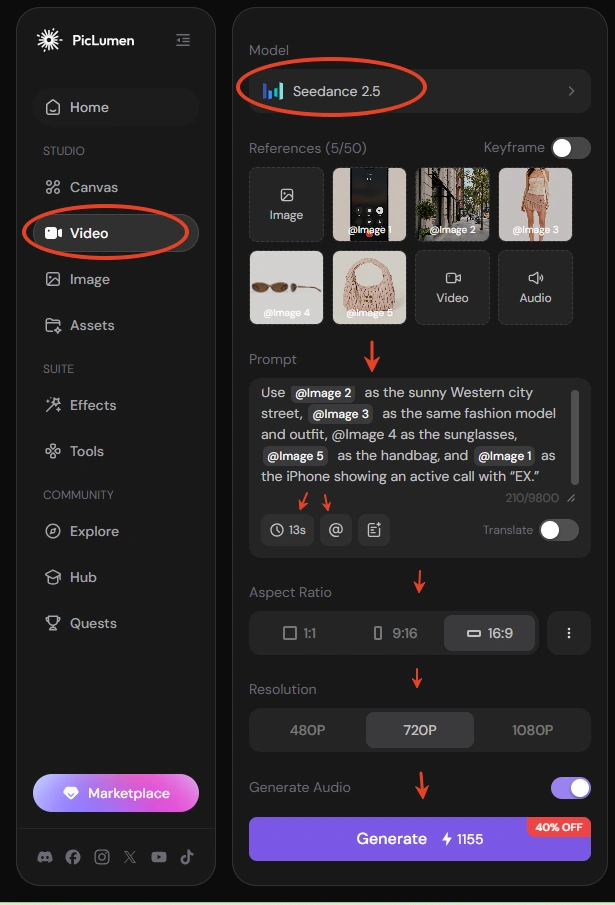
I uploaded all five images into PicLumen.
The @Image references are useful here because you can point directly to the right reference inside the prompt.
My setup was:
@Image 1 — iPhone / EX call screen
@Image 2 — city street
@Image 3 — model and outfit
@Image 4 — sunglasses
@Image 5 — handbag
That keeps the prompt much cleaner than repeatedly describing the same objects.
Step 5: Enter the Image-to-Video Prompt
I started with a much longer prompt, but the shorter version was easier to manage.
This is close to what I used:
Use @Image 2 as the sunny Western city street, @Image 3 as the same fashion model and outfit, @Image 4 as the sunglasses, @Image 5 as the handbag, and @Image 1 as the iPhone showing an active call with “EX.”
Create a 13-second vertical fashion commercial in bright natural summer daylight with realistic live-action cinematography and a polished 35mm fashion-ad look. Keep the same character, outfit, products, logos, and street environment throughout the video.
Start from a low angle at the model’s shoes as she walks naturally toward the camera, then smoothly tilt upward into a full-body tracking shot. She is talking to her ex in English. The conversation is mildly tense, but her acting stays subtle and believable: natural walking rhythm, slightly impatient expression, relaxed body language, natural lip movement, and one small hand gesture.
Another pedestrian approaches and lightly brushes her shoulder while passing. Her shoulder reacts first, her balance shifts slightly, and then her grip naturally loosens. The sunglasses slip from her face, the handbag leaves her hand, and the iPhone falls away from her ear. Keep the collision physically believable and restrained.
Right after the objects leave her, enter realistic bullet time. Time slows until the scene feels almost frozen. Her hair, scarf, and skirt remain suspended in the motion from the collision, while the sunglasses, handbag, and phone move only a short distance and stay nearly fixed in space.
The camera moves through the frozen scene. Approach the handbag first for a close-up of the leather texture, stitching, gold hardware, and logo. Then move toward the sunglasses for a macro side view of the frame, lenses, and metal branding. Continue toward the iPhone and push closer to the active EX call screen.
Keep the whole sequence in natural summer sunlight. As the camera angle changes, the sunlight creates subtle realistic glints on the handbag logo, sunglasses hardware, jewelry, and phone frame.
Pull back to reveal the complete frozen moment, then resume normal time. The handbag falls softly, the sunglasses bounce and slide slightly, and the phone hits the pavement with a small realistic movement. The model takes one or two small steps to regain balance, stays standing, and looks down at the scattered items with a brief surprised and slightly speechless expression.
End directly on the street scene. Keep the acting restrained, the physics believable, and the products visually consistent.
Step 6: Choose the Duration and Resolution
I used a 13-second duration.
That gave the opening enough time to establish the model before the collision, while still leaving space for the handbag, sunglasses, and phone close-ups.
For resolution, I’d use the highest option available. The bullet-time section gets close to small details like leather texture, metal hardware, logos, jewelry, and the phone UI, so sharper output helps a lot.
Step 7: Check Everything and Generate
Before generating, I checked the model, duration, resolution, prompt, and every @Image reference one more time.
Then I clicked Generate.
That was the full workflow.
What Made the Result Work Better
The biggest improvement came from making the collision smaller.
My first version reacted too dramatically. Once I changed the motion to:
contact → shoulder reacts → balance shifts → grip loosens → products leavethe scene looked much more believable.
The same thing helped the bullet-time section.
I got a better result when the products stayed close to where the collision placed them and the camera moved toward the products, rather than having the bag, phone, and sunglasses fly toward the lens.
That kept the whole sequence feeling like one continuous street shot.
Natural Sunlight Helped the Product Shots
I also kept the lighting consistent from beginning to end.
The handbag, sunglasses, and phone stay inside the same sunny street environment during their close-ups.
When the camera angle changes, the metal logo or hardware briefly catches the sunlight.
That small reflection gave the product shots enough polish without making them look like separate studio renders.
Final Result
For something that looks fairly complicated, the actual workflow was pretty manageable.
The references handled most of the visual consistency, while the prompt mainly controlled the acting, collision, bullet-time camera path, and ending.
I used Seedance 2.5 on PicLumen for this version, and I’d still test the same setup with Wan 3.0 if the first generation doesn’t get the motion right. Having both options in the same workflow makes this kind of AIGC ad experiment pretty easy to iterate.