If you’ve been following our tutorials, you might remember the last one where we explored PicLumen’s AI Replace feature—a tool that gave you the power to swap out elements in your images with just a few clicks. Pretty cool, right? Well, we’re not stopping there! PicLumen, the cutting-edge generative AI platform, is all about pushing the boundaries of what’s possible with your visuals.
Today, we’re zooming in on another star of the PicLumen editing tools: the AI Image Extender. Think of it as your personal magician for stretching and expanding your PicLumen-generated images in ways that feel completely natural and seamless.
But don’t just take our word for it—let’s experience 6 clever tips that’ll help you maximize the use of this powerful tool!
6 Tips for Mastering PicLumen AI Image Extender
Welcome to practice our AI image expansion tool! Ready to stretch your images to new dimensions? Before giving the tips, let me briefly describe how to use the PicLumen AI image expander.
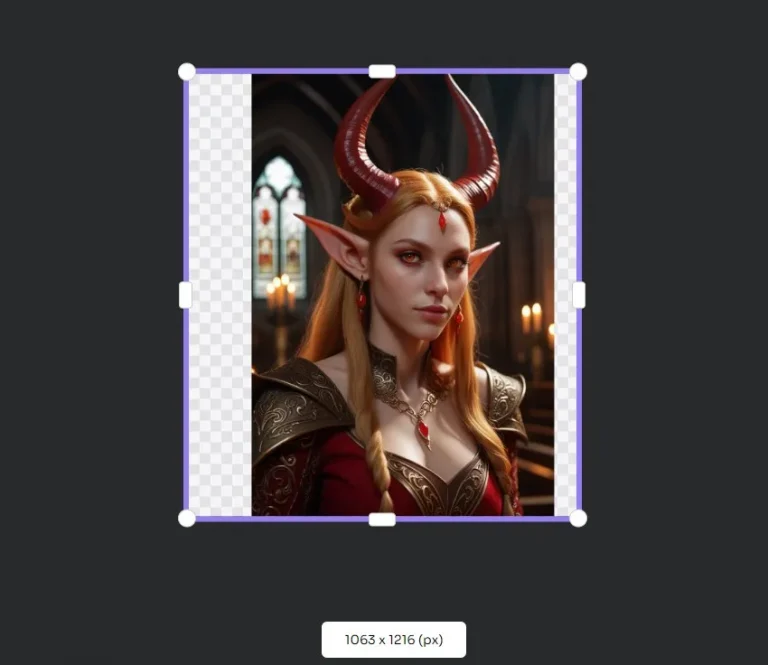
- Step 1: Click on the image that needs an extension
Select an existing image, click on it, and find the image widener function.
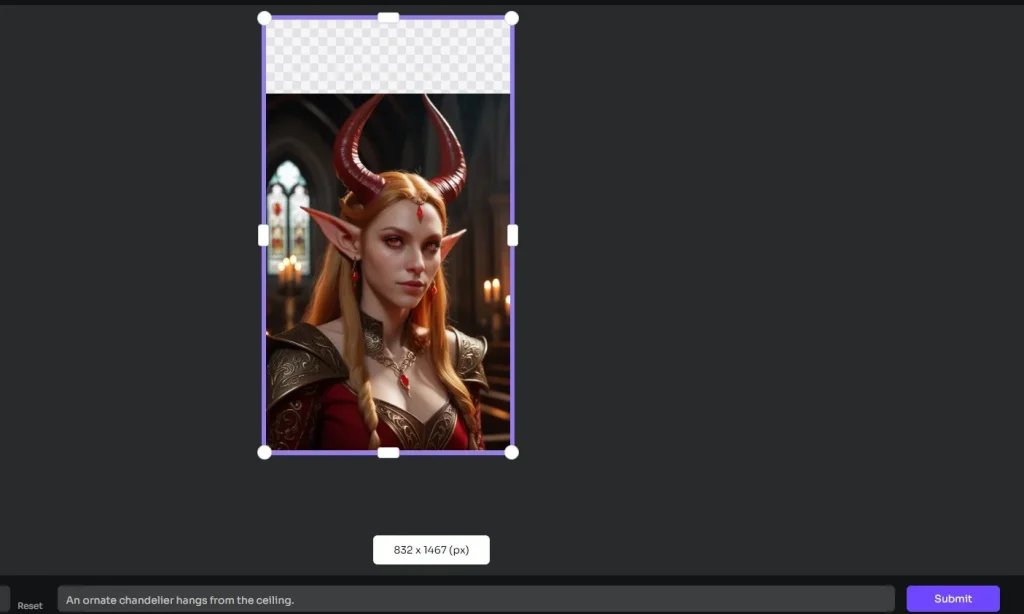
- Step 2: Customize the image canvas
Drag the frame to choose the direction and size of the expansion you require.
- Step 3: Typing text prompts
This step can be ignored. But if you wanna add some specific elements, don’t forget it.
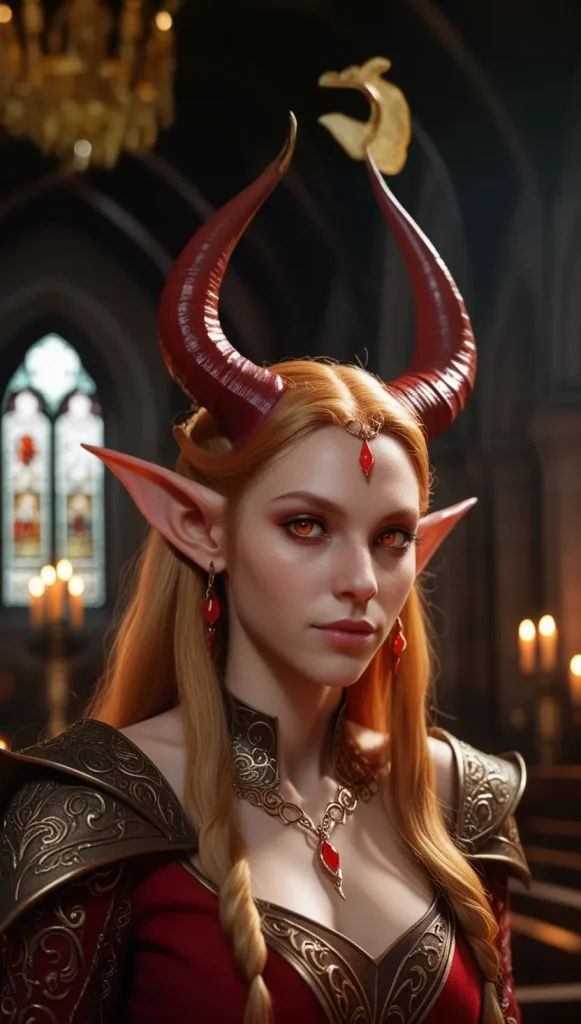
- Step 4: Submit
Click “Submit” and wait for your expanded image.
Well, you do know how to stretch images with the PicLumen AI outpainting function. Let’s get together and learn the tips for using it.
Tip 1: Start with the Best – Quality In, Quality Out
Tip: Always begin with a high-quality PicLumen-generated image.
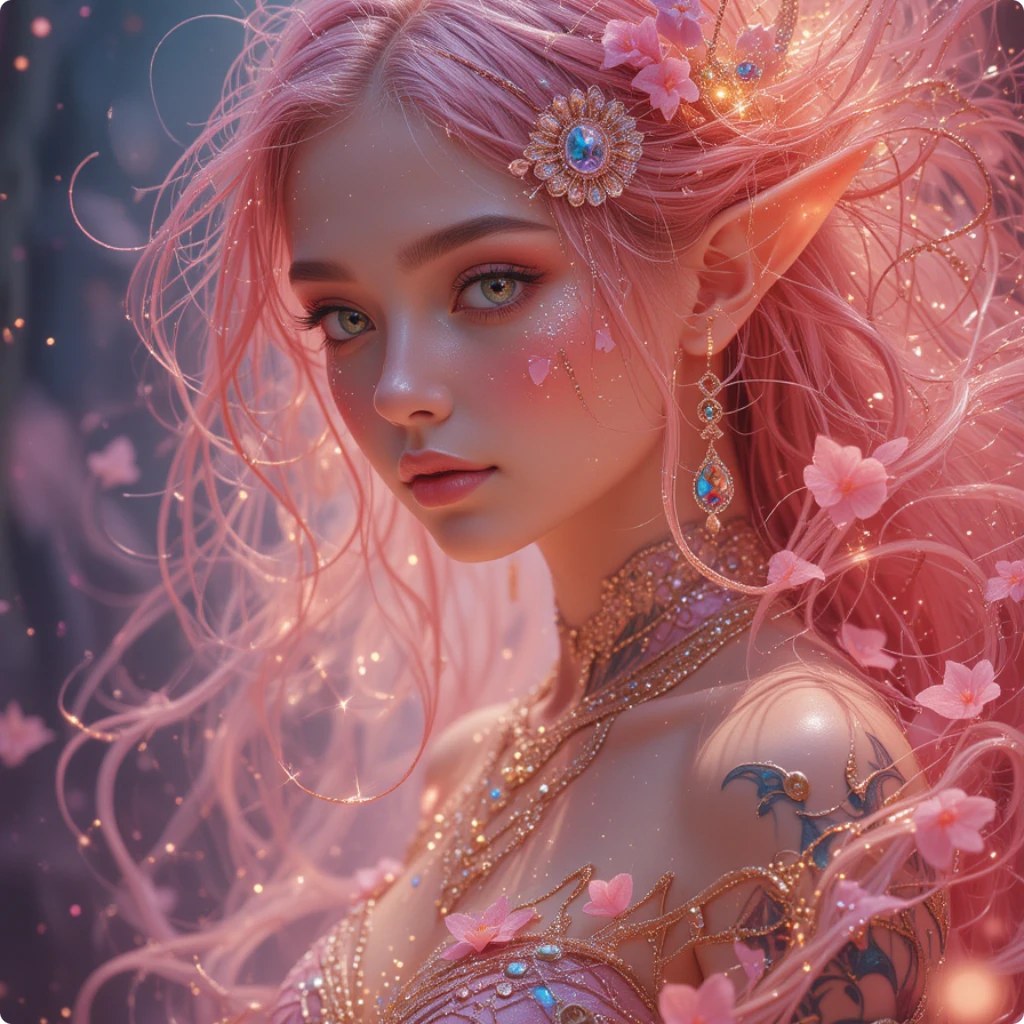
Imagine that your image is like a cake. The better the ingredients, the tastier the result. Similarly, starting with a high-quality image is like having a solid foundation for your creative masterpiece. It’s like building a house—without a strong base, the walls might come tumbling down. So, make sure your original image is sharp, detailed, and bursting with potential.
When you expand a top-notch image, the AI has a fantastic starting point to work its magic, ensuring the extended parts blend seamlessly and keep the overall quality high.
Tip 2: Explore Different Directions – Don’t Just Go with the Flow
Tip: Experiment by expanding your image in different directions—left, right, up, or down.
Who said you have to follow the crowd? Sometimes, the best way to discover something new is to take a detour. Expanding your image in different directions can lead to unexpected and delightful results.
Maybe you’ll find that shifting the image upward adds a stunning sky, or expanding to the left reveals a hidden landscape. Each direction offers a unique perspective, and it’s like giving your image a new lease on life. So, don’t just stick to one path—explore all the possibilities, and you might stumble upon something truly magical.
Tip 3: Guide the AI – Use Text Prompts for Precision
Tip: Utilize the text prompt feature to add specific elements or themes to the expanded area.
Think of yourself as the director, and the AI is your star actor. With a little guidance, you can get that perfect performance.
By using text prompts, you can nudge the AI to add exactly what you envision. This precision helps you steer the expansion in the direction you want, making the final image feel more tailored to your creative vision. It’s like adding your personal touch to it.
So, don’t be shy—tell the AI what you want!
Tip 4: Quick Expansions – Instantly 1.5x-2x Extension
Tip: Use the quick expansion option when you need a fast and effective image boost.
With just one click, your image is instantly bigger, better, and bolder with new expanded content. This feature is ideal for when you’re in a hurry or want to see immediate results without getting bogged down in the details. The best part? It still looks polished, even without the extra tweaking.
Tip 5: Reset When Needed – Don’t Be Afraid to Start Over
Tip: Use the reset button if the expansion setting doesn’t meet your expectations.
If the expansion setting doesn’t look quite right, don’t hesitate to hit reset and start fresh. It’s better to give it another go than to settle for something that doesn’t capture your vision.
Tip 6: Try It A Few Times – Play with the Ratios
Tip: After completing an expansion, you can try different ratios.
The perfect piece of work is always the result of testing and revising. This is true even for stretching images with AI. After getting a result, I’d like to suggest you try different proportions and find the best one.
Conclusion
So there you have it—6 brilliant tricks to help you master the AI outpainting feature of PicLumen’s AI image creator. With these ideas, you can improve your PicLumen-generated images to new heights.
Keep in mind that being creative is more of a process than an endpoint. Don’t be scared about trying until you discover what works best for you.