A character can look right in the first AI-generated clip, then feel slightly different in the next one.
The eyes shift. The jaw becomes wider. Freckles disappear. The hairstyle changes during a turn. None of these changes may look dramatic on their own, but together they make the sequence feel disconnected.
Writing a longer prompt does not reliably solve the problem. A prompt describes a character in words, so the video model still needs to reconstruct that person during each generation.
A better workflow gives the model less to guess. Start with one approved character image, add only the references the story needs, and keep each shot focused.
This guide explains how to maintain character consistency across AI video shots on PicLumen using Kling 3.0, Seedance 2.0, and other image to video or reference-based video models.
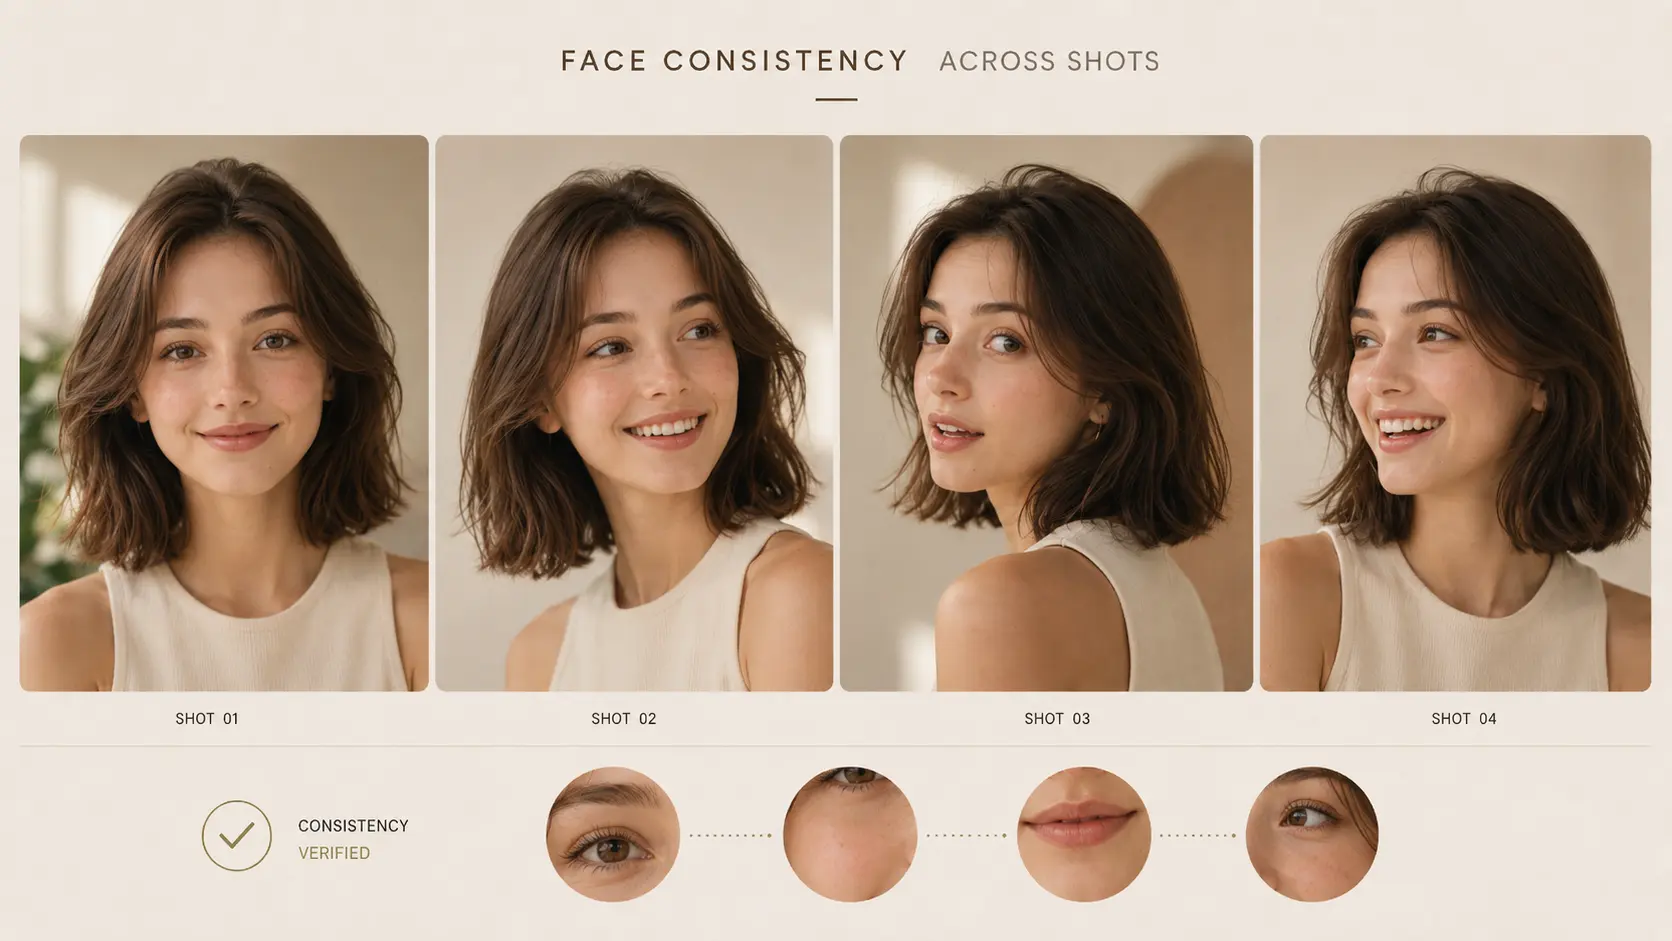
What Should Stay Consistent?
Character consistency is not only about preserving the face.
A character can keep similar facial features and still look different if the hair becomes shorter, the makeup changes, an accessory disappears, or the body proportions shift between clips.
Character Element | What Should Stay Consistent |
Face | Face shape, eyes, nose, lips, skin tone, and age |
Hair | Color, length, texture, and parting |
Body | Height, build, and proportions |
Clothing | Style, colors, materials, and accessories |
Visual style | Photorealistic, cinematic, anime, 3D, or illustrated |
Signature details | Freckles, beauty marks, jewelry, scars, or logos |
The character should still be able to move, react, and appear in new settings. The goal is not to repeat the same frame. It is to preserve one identity while the pose, expression, camera, and environment change.
AI Video Character Consistency Workflow
Start With a Clear Character Brief
Before creating the first image, separate the character description into two groups.
Locked traits are the details that should remain unchanged. Flexible traits include the expression, pose, action, camera angle, and lighting that can change with the scene.
This distinction prevents a temporary expression or pose from becoming part of the permanent character design.
Create One Clear Master Image
Create the character in the PicLumen Image workspace before generating the video.
This image becomes the master reference for the entire project. It should show the face clearly, use soft and readable lighting, and make the hair, outfit, and accessories easy to identify.
A front or three-quarter view usually works best. Keep the background simple and avoid strong shadows, heavy motion, extreme poses, or anything covering the face.
The master image does not need to be the most cinematic frame in the project. Its main purpose is to define the character clearly. Stronger atmosphere, movement, and lighting can be introduced during video generation.
Master Image Prompt Example
Isla Hart, a beautiful 25-year-old woman with a warm, approachable, feminine presence and a polished Instagram lifestyle creator aesthetic. She has a soft oval face, warm light skin, subtle natural freckles across her nose and cheeks, hazel-brown almond-shaped eyes, soft arched eyebrows, a delicate straight nose, and full naturally shaped lips with glossy rosy-nude lipstick. A small beauty mark sits near the right side of her chin. Her long chestnut-brown hair has soft loose waves, a clean center part, and light face-framing layers. She wears a cream off-shoulder knit top, a light beige satin skirt, small gold hoop earrings, and a delicate layered gold necklace. Her makeup is fresh and refined: glowing skin, warm peach blush, softly defined eyes, natural lashes, and glossy rosy-nude lips. Three-quarter body portrait, front three-quarter camera angle, face fully visible, soft natural daylight, clean neutral background, realistic skin texture, bright lifestyle photography, clear facial, hair, makeup, clothing, and jewelry details.
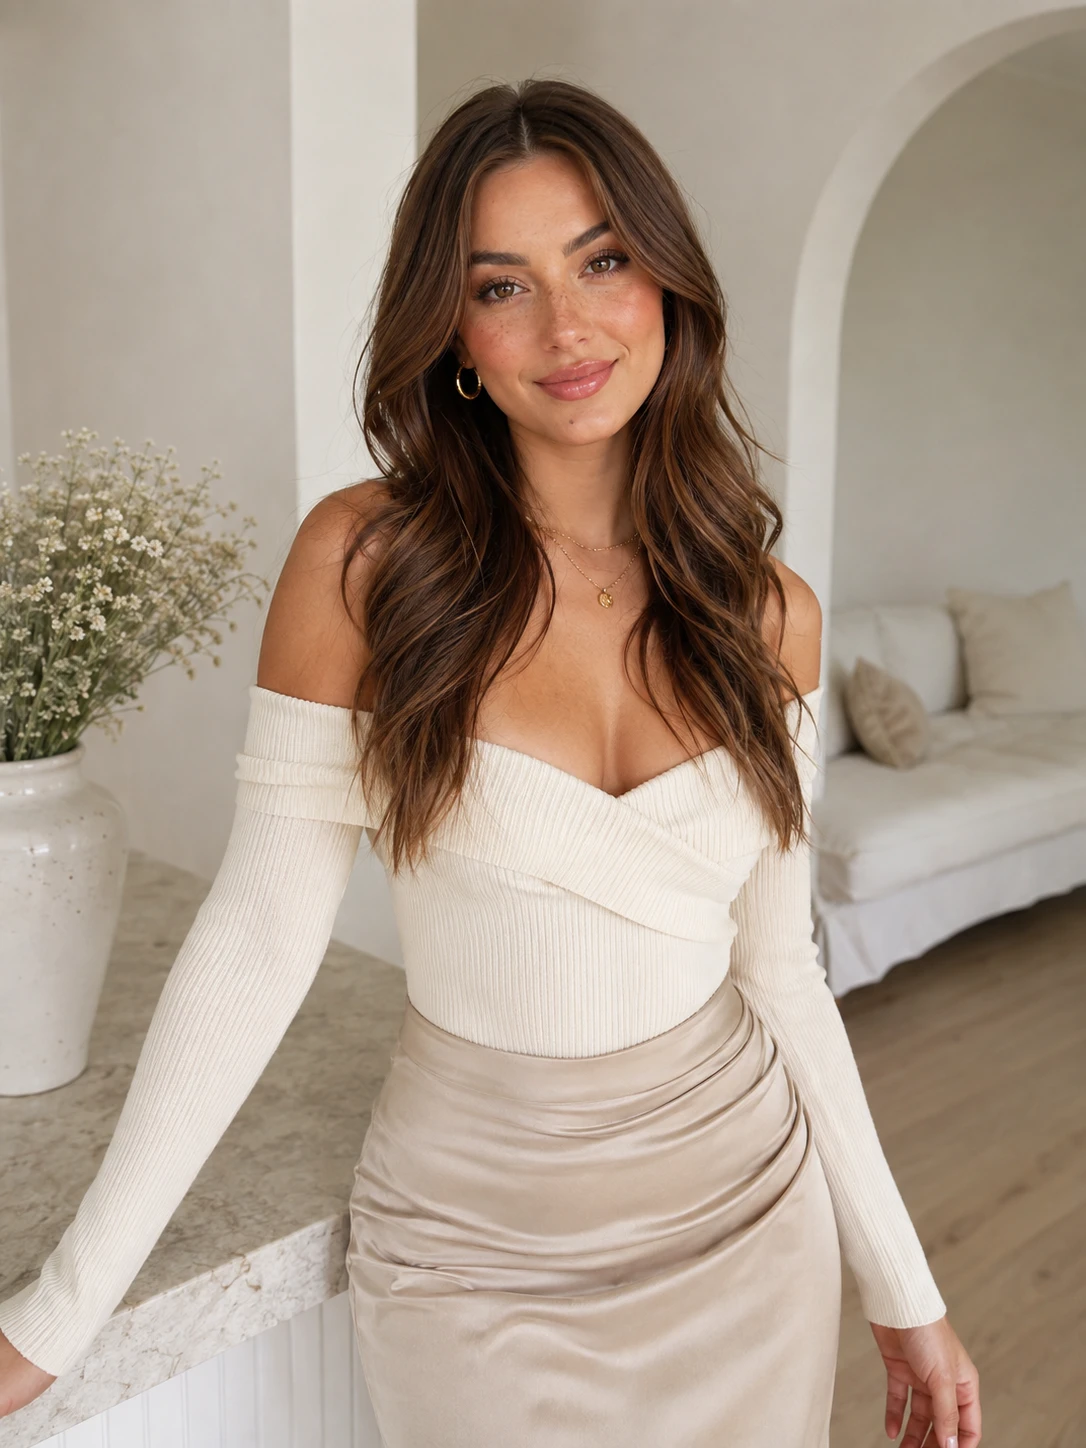
Generate several versions if needed, then choose one and treat it as final.
Once the character is approved, stop switching between similar faces. Every later reference image and video shot should return to the same master design.
Add Only the Reference Views the Story Needs
A simple close-up may only need the master image. A longer sequence may require other angles.
Reference View | Best Used For |
Face close-up | Facial identity, freckles, and makeup |
Three-quarter portrait | Natural head turns |
Full-body image | Outfit and body proportions |
Side view | Walking, driving, and profile shots |
Rear view | Back-facing actions |
You can use image to image AI to create these supporting views from the approved master image.
Check every new reference against the original. A different hair length, beauty mark position, outfit color, or jewelry design can create conflict during video generation.
More references are not automatically better. One clear master image is often more effective than several images with small differences.
Keep the Shot Plan Simple and Natural
Character drift becomes more likely when one prompt asks for too many actions, camera changes, and scene transitions at once.
A 12-second video does not need six or seven cuts. Three natural shots can create a complete scene while giving the model fewer opportunities to change the character.
In this example, Isla drives a vintage cream convertible along a quiet coastal road near sunset.
Shot | Action | Camera |
Coastal drive | Isla drives along the winding road | Gentle side tracking shot |
Natural close-up | She briefly looks toward the ocean, then back to the road | Close passenger-side shot |
Quiet final moment | She tucks a loose strand of hair behind her ear | Slightly wider passenger-side shot |
The first shot establishes the environment. The close-up shows Isla’s face clearly. The final shot adds a small, believable action and closes the sequence without feeling staged.
Each shot mainly changes one action and one camera position. This is not a strict rule, but it gives the model a more stable starting point.
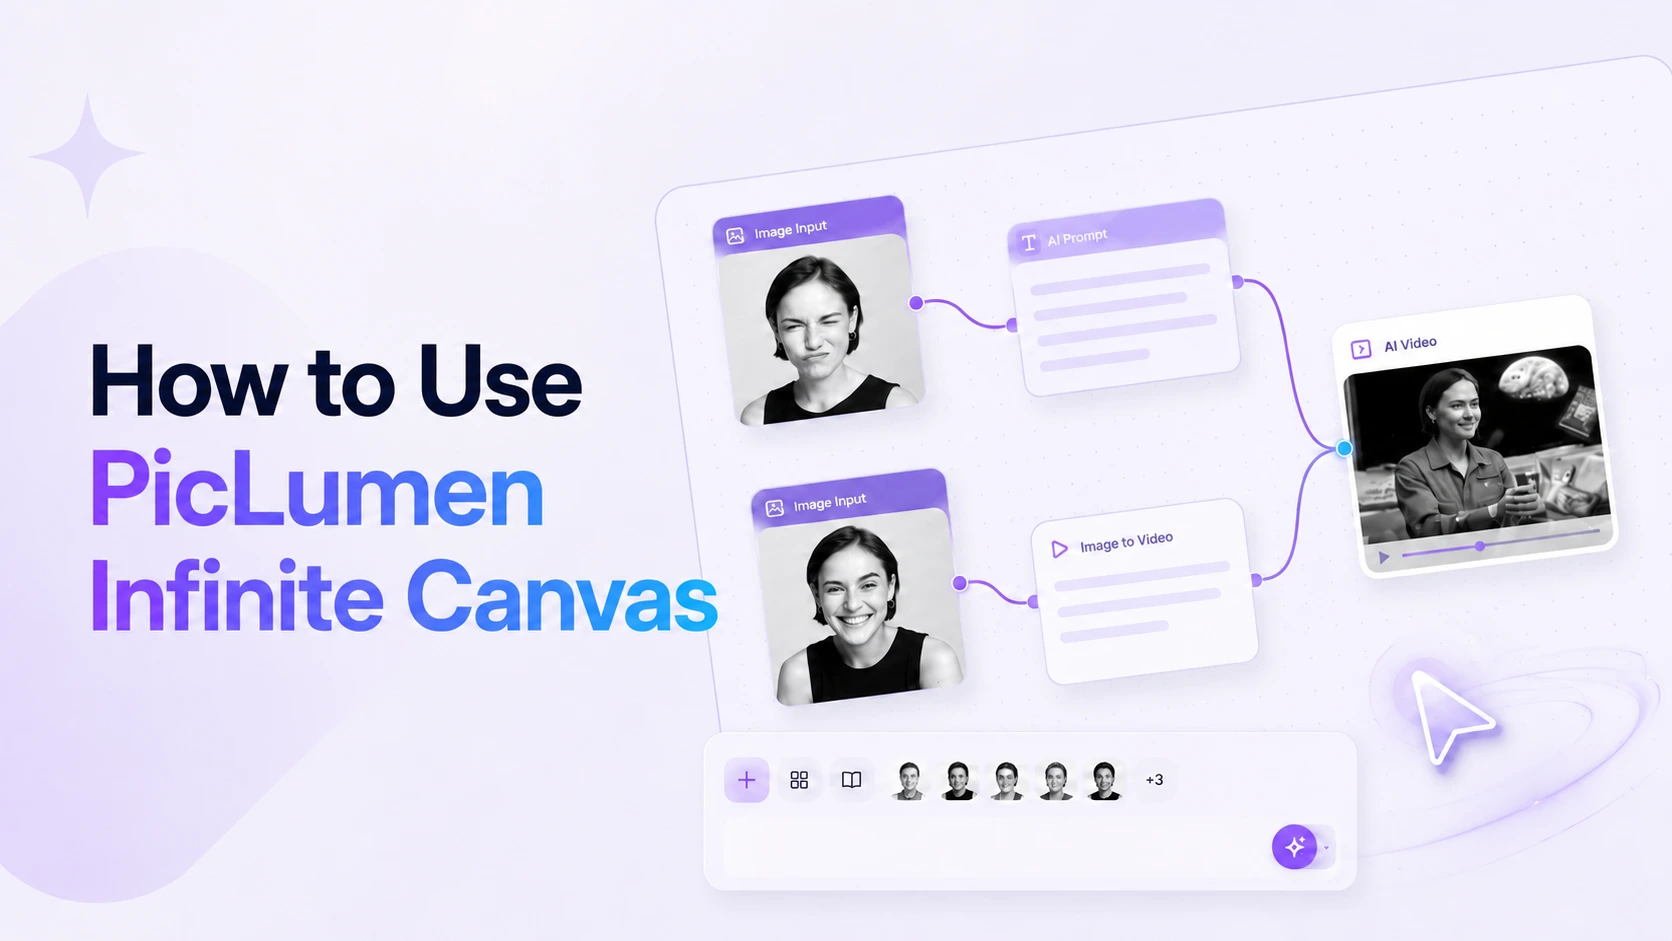
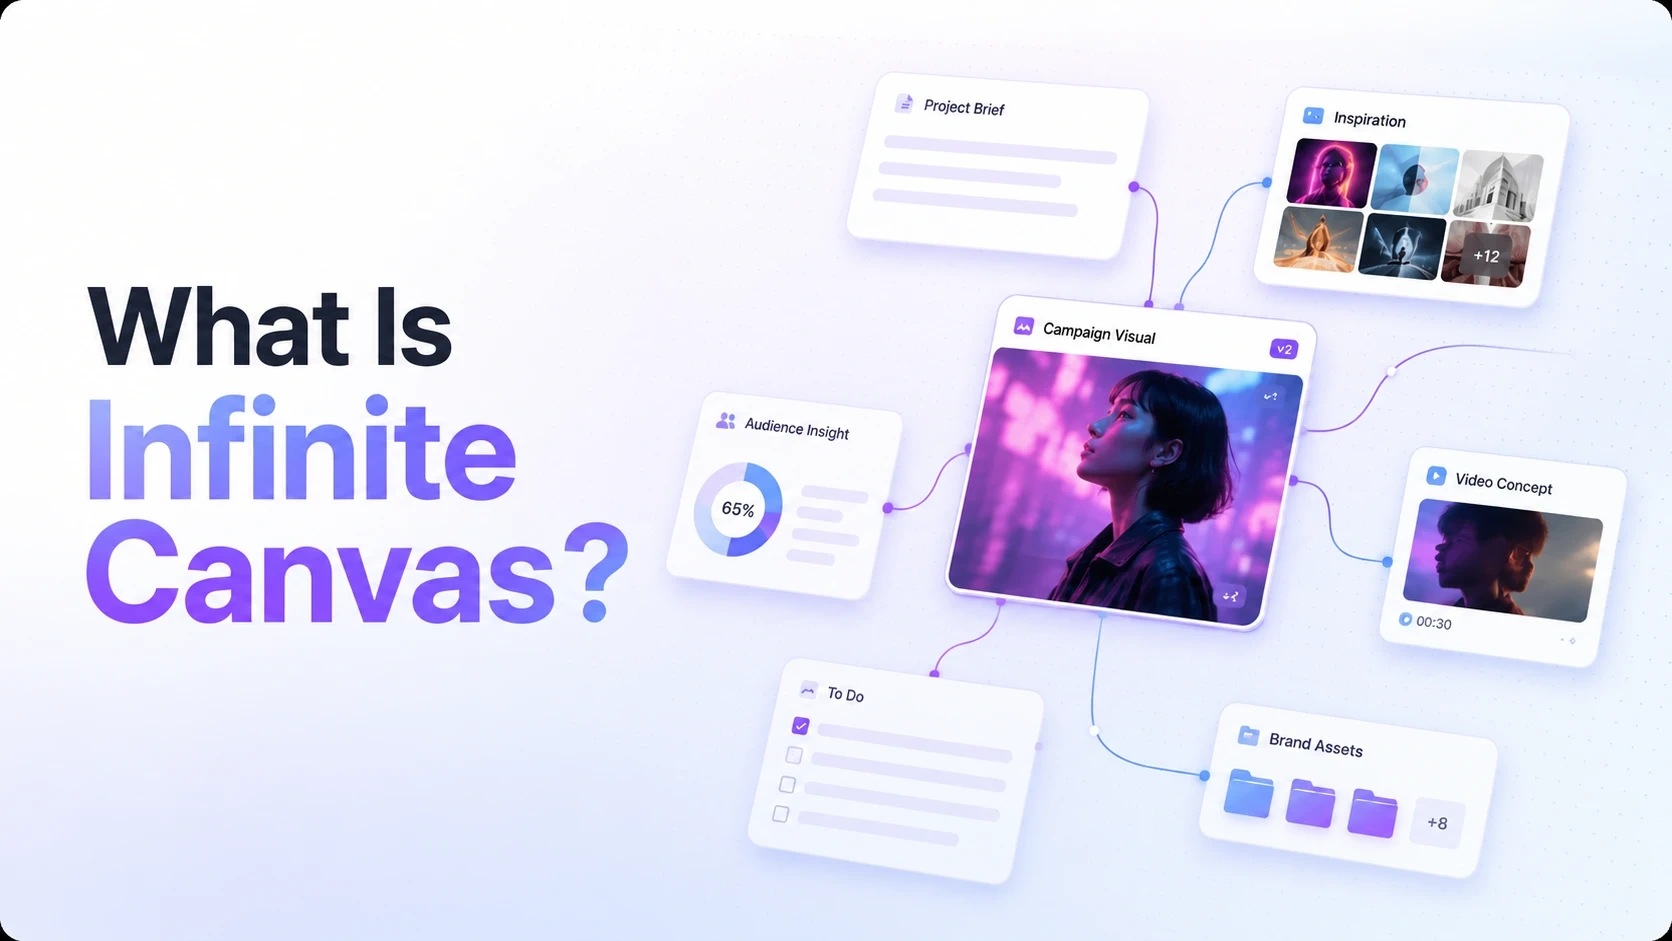
PicLumen Canvas Tip: For a longer sequence, Canvas can help you place the master image, supporting references, and storyboard frames side by side. This makes changes in the face, outfit, camera angle, or color style easier to notice. For a short three-shot clip, Canvas is optional.
Match the Generation Method to the Shot
Image-to-video is usually the safer option when preserving the character matters more than creating a large visual transformation.
It works particularly well for facial close-ups, seated scenes, small gestures, slow head movements, push-ins, and shots that keep most of the face visible. The source image already gives the model a face, hairstyle, outfit, pose, and composition to follow.
Multiple references become useful when one image cannot provide everything the shot needs.
@Image1 — face, freckles, and makeup
@Image2 — full outfit and body proportions
@Image3 — passenger-side profile
@Video1 — driving posture and camera movement
Models such as Seedance 2.0 can suit this type of reference-driven workflow.
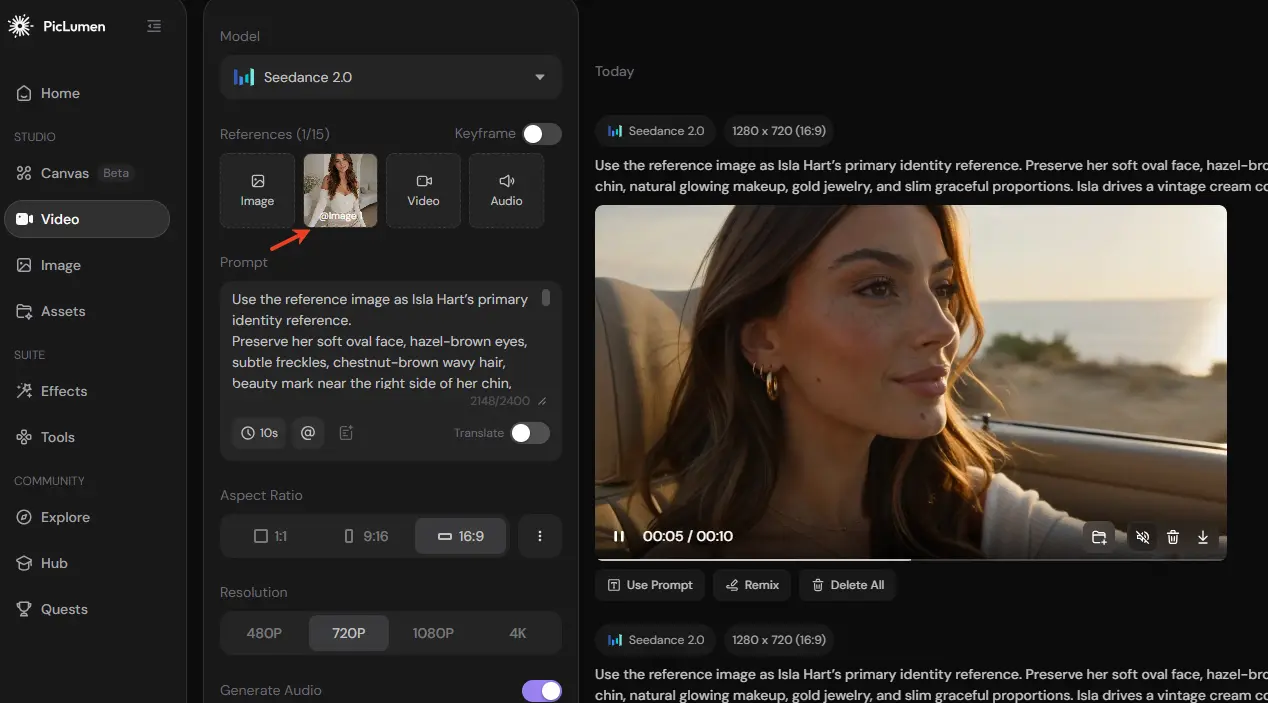
Give each file one clear role. Avoid using several images that disagree about the character. If two references show different hair lengths or outfit colors, the model may blend them instead of following the correct version.
Models such as Kling 3.0 can also be useful when one output contains several connected shots. Multi-shot generation may reduce manual editing, but it still needs a planned sequence with clear actions, camera positions, and continuity instructions.
Use the model to execute the storyboard rather than asking it to invent the entire sequence.
Separate Identity From Action in the Prompt
A useful character consistency prompt should reinforce the fixed identity and then describe what happens in the current video.
A practical structure is:
Reference instruction + Locked character traits + Scene and character action + Shot progression + Visual style + Continuity restrictions
Keep the Main Settings Stable
Across connected shots, keep the video model, aspect ratio, reference images, visual style, outfit description, lighting direction, motion speed, resolution, and reference strength as consistent as possible.
Switching models halfway through a sequence may change how the same face is interpreted.
Changing the aspect ratio can also force a new composition. The character may suddenly appear wider, shorter, or differently proportioned.
Generate one test clip before committing to the complete sequence. Check the face, hair, makeup, outfit, driving posture, car structure, and lighting.
It is easier to fix a settings problem after one clip than after a complete sequence.
Continue From Approved Frames
For connected clips, avoid starting every scene from scratch.
When the selected model supports multiple image inputs, combine the master character image with the approved final frame from the previous clip.
Master character image + Approved final frame from the previous clip → Generate the next clip
The master image protects the original identity. The previous final frame carries over the pose, setting, lighting, and camera position.
If the model accepts only one starting image, use the previous clip’s final frame and keep the locked identity description in the prompt.
Continue comparing later results with the original master image. Frame-to-frame handoffs can gradually drift because every generation introduces small changes.
Review the Result Frame by Frame
Watch the video once at normal speed, then pause around head turns, expression changes, hand movements, face obstructions, and shot transitions.
For the coastal driving example, confirm that Isla’s face remains recognizable, the freckles and beauty mark stay in place, and the hair keeps the same length and texture.
The makeup, jewelry, outfit, and body proportions should remain unchanged. Her left hand should stay on the steering wheel, while the car interior and exterior remain structurally stable.
The final frame should still look like the same character shown in the master image.
If one shot fails, regenerate that shot rather than rebuilding the entire video.
Common Character Consistency Problems
Problem | Likely Cause | Fix |
Face changes during a glance | The head movement is too fast | Slow the movement and keep most of the face visible |
Hair length changes | Wind or movement is too strong | Reduce hair motion and repeat the hair description |
Freckles or beauty mark disappear | The face is too small in the frame | Use a closer shot and restate the detail |
Hand becomes distorted | The gesture is too complex | Simplify the movement and keep the hand visible |
Hand position changes | The driving constraint is unclear | State that the left hand remains on the wheel |
Outfit or jewelry changes | References are unclear or conflicting | Use one clean outfit reference |
Car structure changes | Camera movement is too wide or complex | Use restrained tracking shots and stable angles |
Clips do not connect | Each clip starts from a separate image | Continue from the previous approved frame |
Create Consistent AI Video Characters on PicLumen
Character consistency does not come from one perfect prompt or one model that never makes mistakes.
It begins with a clear character design. Build one strong master image, add only the reference angles the story needs, and keep the actions specific but manageable.
On PicLumen, you can create the character in the Image workspace, build supporting views with Character Reference, and generate the video using Kling 3.0, Seedance 2.0, or another suitable model.
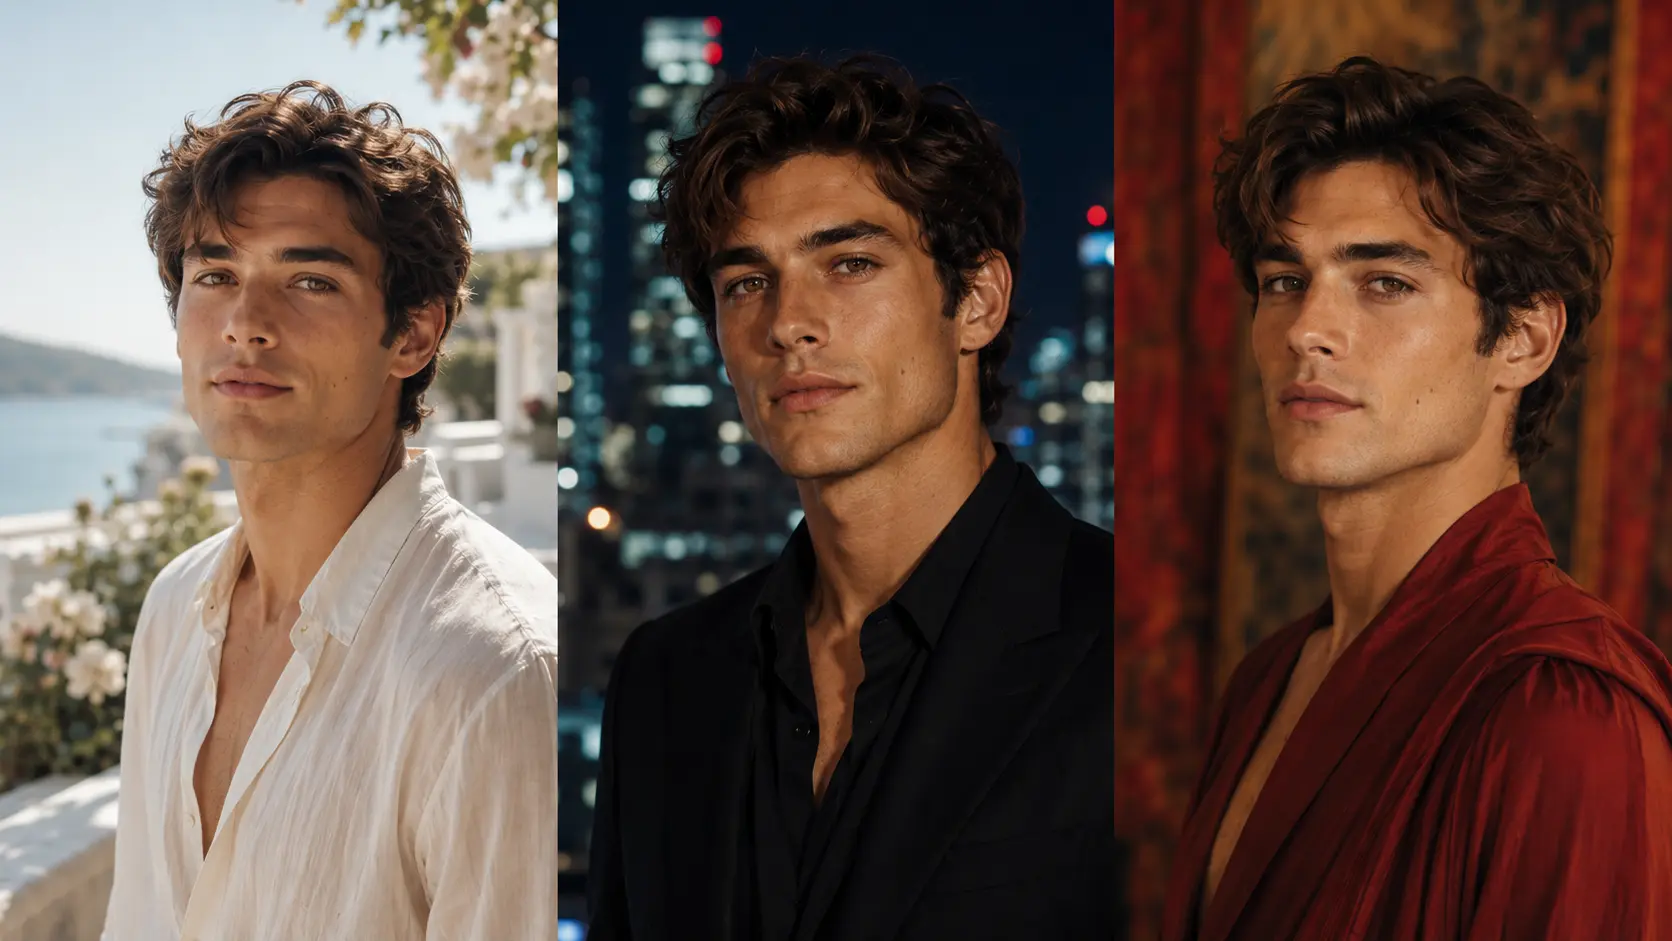
For longer projects, Canvas can help organize character references and storyboard frames. It remains an optional planning tool rather than a required part of the workflow.
The less the model has to reconstruct or invent, the more likely the character is to stay consistent across every shot.
Frequently Asked Questions
Is image-to-video better than text-to-video for character consistency?
Usually, yes. Image to video starts from a visible character. Text to video has to rebuild the face, hairstyle, clothing, and proportions from written instructions.
How many character reference images do I need?
A simple clip may only need one strong master image. Add a face close-up, three-quarter portrait, full-body image, or side view only when the planned shots require that information.
Can I keep the same character by reusing the same prompt?
Not reliably. The same prompt may preserve a general appearance or style, but it does not always preserve one specific identity. Reusing the same visual reference is more effective.