Creating an AI short drama takes more than a good story idea. You need to write a script, prepare character and scene visuals, plan each shot, and turn those images into video clips.
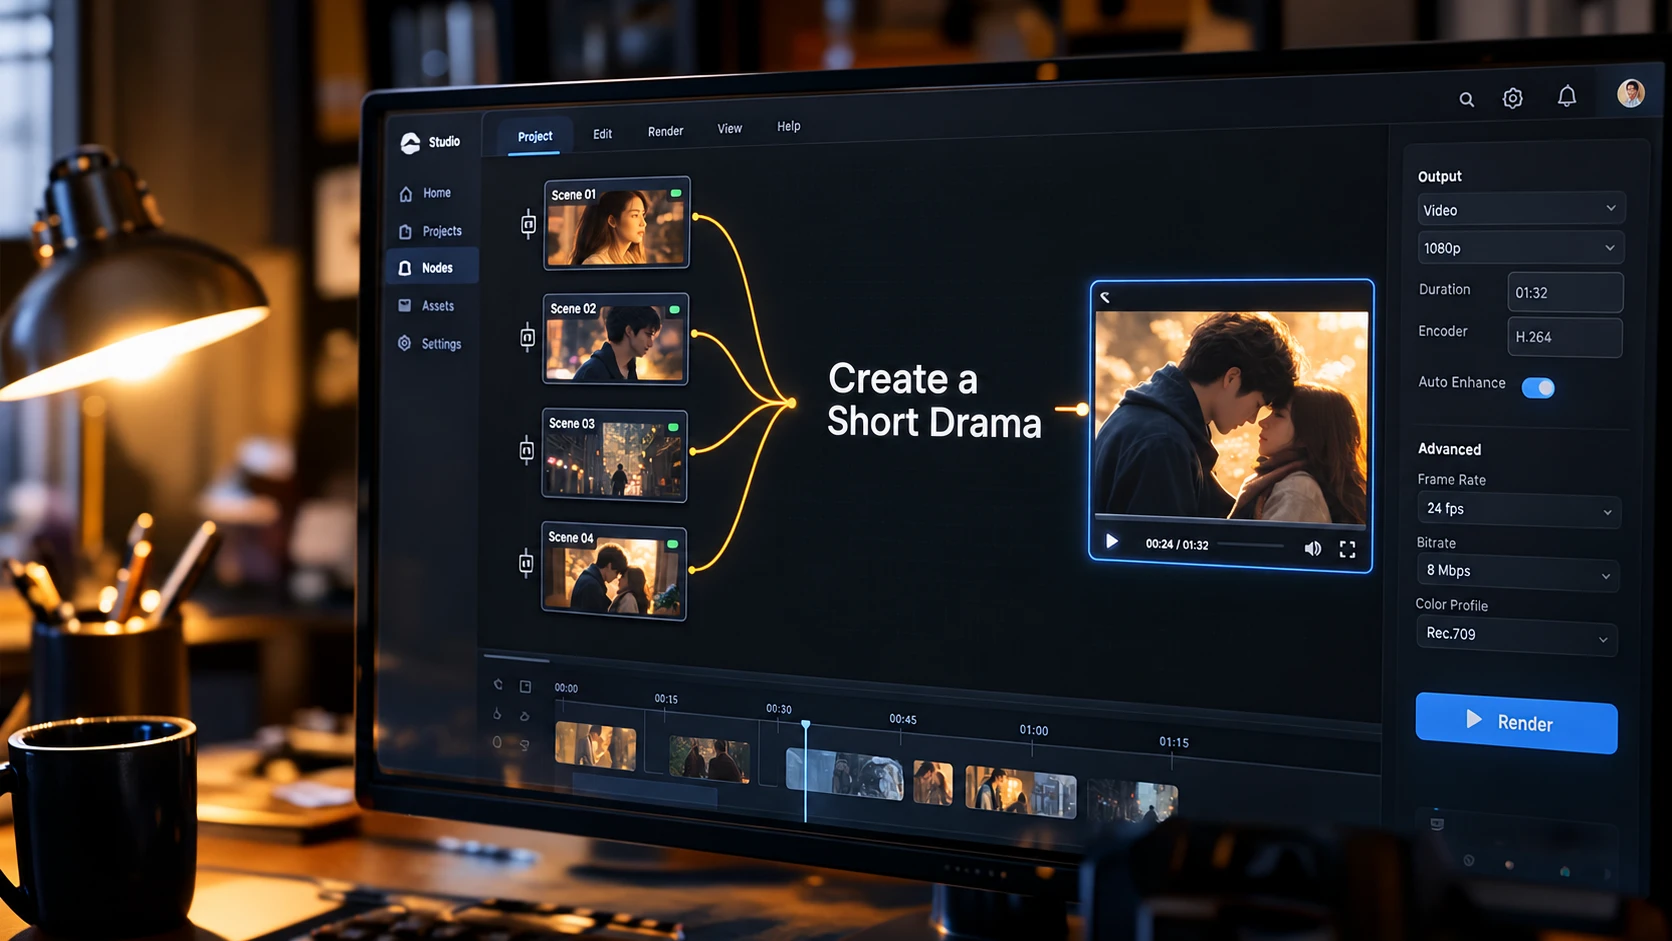
PicLumen's Short Drama Workspace brings the entire process into one node-based canvas. You can develop a story, generate assets, create shots, and edit the final result without switching tabs.
What Is PicLumen's Short Drama Workspace?
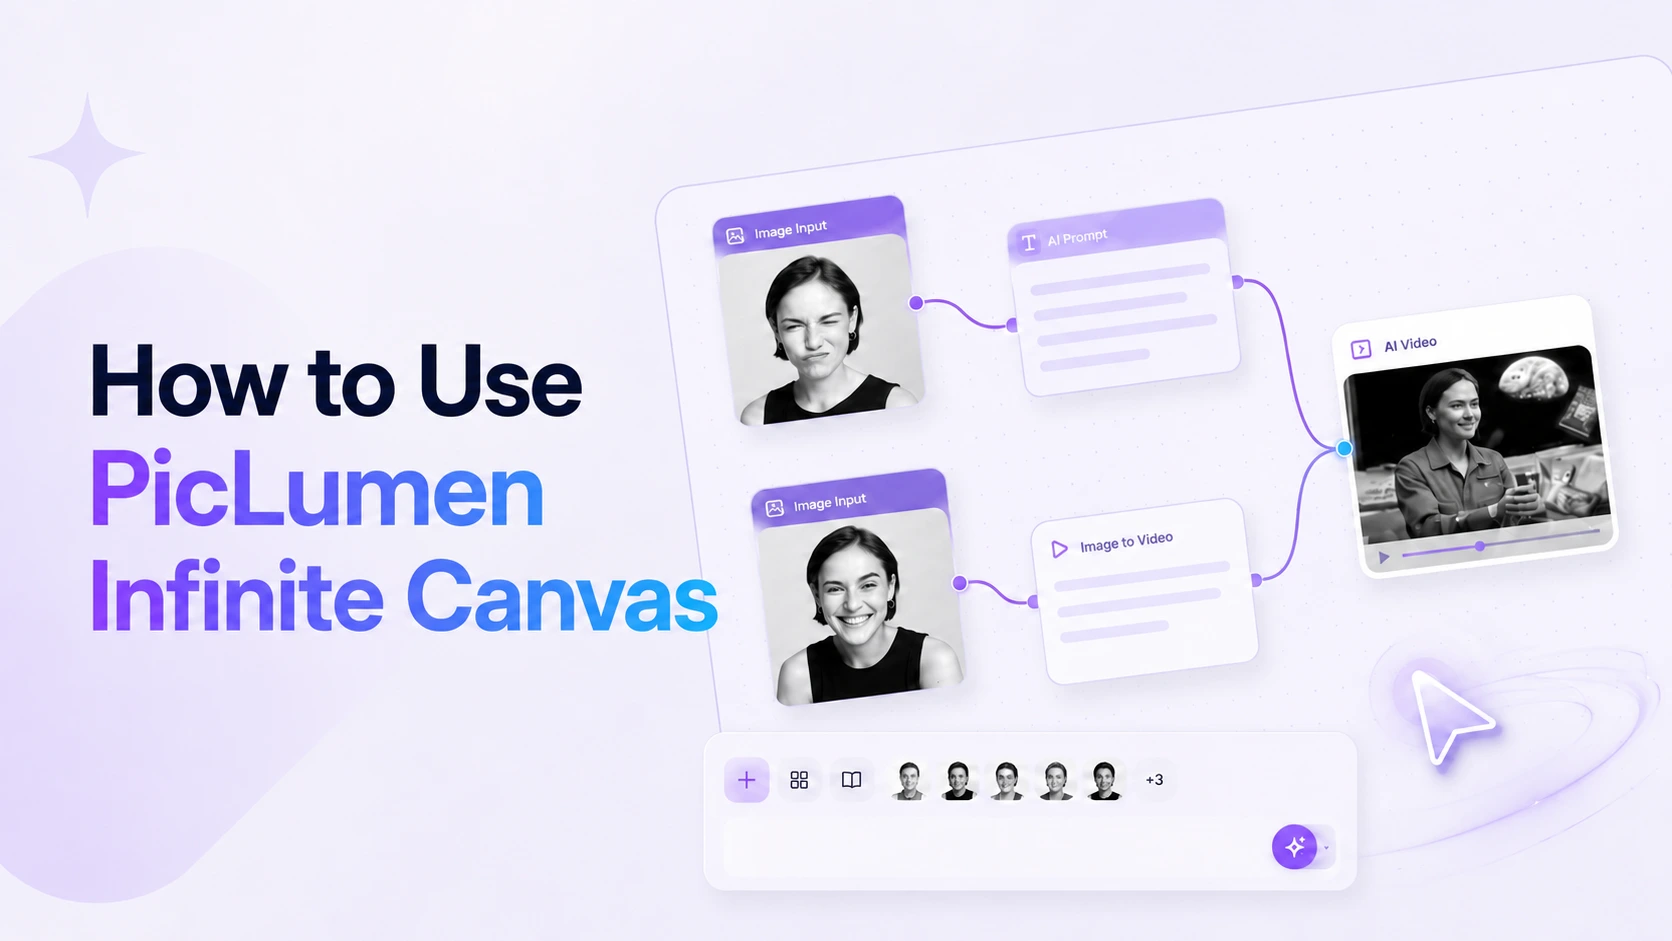
PicLumen's Short Drama Workspace uses a node-based layout to connect each stage of video production, from scriptwriting to final export. Each node handles a specific task, and the output from one stage feeds into the next.
Here is a quick breakdown of the modules and what they do:
Workflow Stage | Main Function | Output |
Script | Expands your story idea into a detailed script. | Text Script |
Assets | Generates descriptions of characters, locations, and props. | Text Descriptions |
Storyboard | Breaks the script into individual shots and assigns assets | Shot list |
Shots | Turns generated images into video clips. | Video Clips |
Video Editor | Combines clips and adds subtitles, audio, and effects. | Final Video |
How to Make an AI Short Drama with PicLumen
To start, open the Short Drama Workspace using either of these two buttons:
Click Create Your Drama next to the featured drama.
Click the button under the My Drama Projects section.
Prefer watching a visual walkthrough? Play the video above. If you prefer reading the steps, continue below.
Once the workspace opens, follow these steps.
Note: Nodes with prompt fields include built-in system prompts that you can use or edit. You can also upload reference materials in these fields to guide content generation. The Story idea node is a text-only input field and does not support reference uploads.
Step 1: Generate the Script
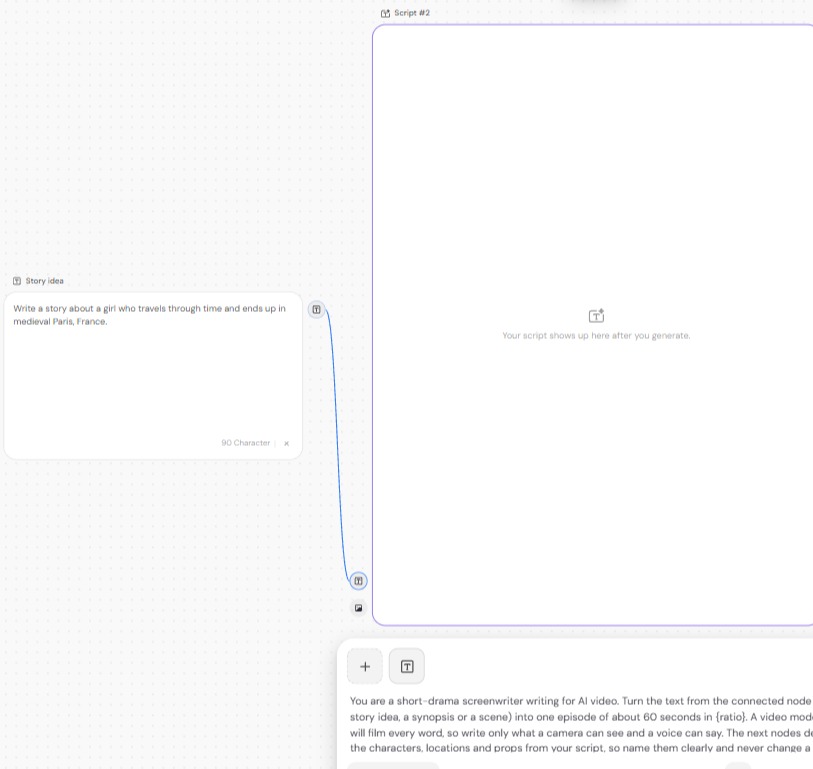
Enter your story idea. Find the Story idea node on the left and enter your core story concept.
Generate the script. Open the Script node. Review or edit the built-in prompt, then click Generate. The GPT-6 Luna model expands your story idea into a detailed script.
Review and edit. Check the generated script. If you want to change the style or actions, click into the text box and edit the text directly.
Step 2: Generate Assets and the Storyboard
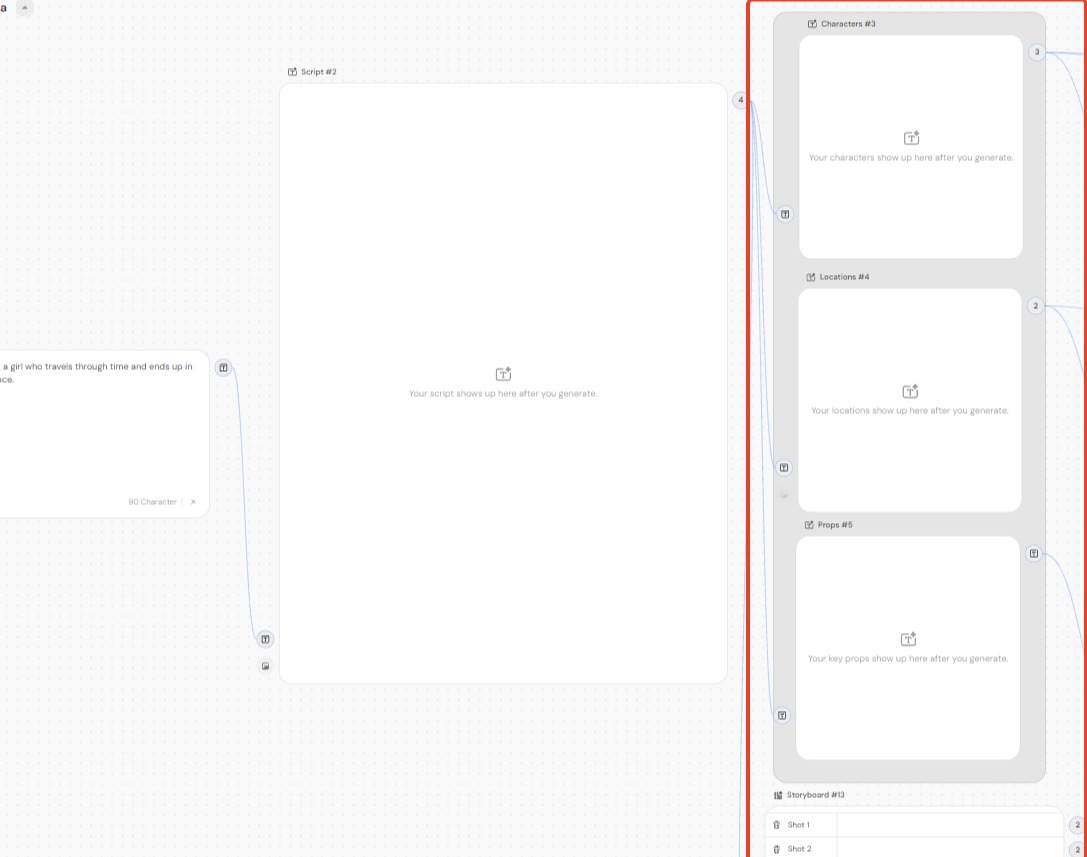
Review the generated assets. Once the script is ready, the workspace generates text descriptions for characters, locations, and props based on the story. Review these descriptions and edit them if needed. You can also upload reference materials in the corresponding prompt fields to guide the results.
Generate the storyboard. Click generate on the Storyboard node. The system breaks the script down into specific shots (Shot 1, Shot 2, etc.).
Edit the shot details. Click Edit Editor on the Storyboard node to open the detailed table. For each shot, you can modify the shot description, lighting and mood, lines and narration, sound effects, and camera move.
Add and save. Click Add shot at the bottom left to create a new row. Click Save at the bottom right.
Note: Shot size (e.g., close-up, wide shot) can only be selected from the dropdown presets. You cannot type custom text, delete, or add new ones.
Step 3: Generate Images
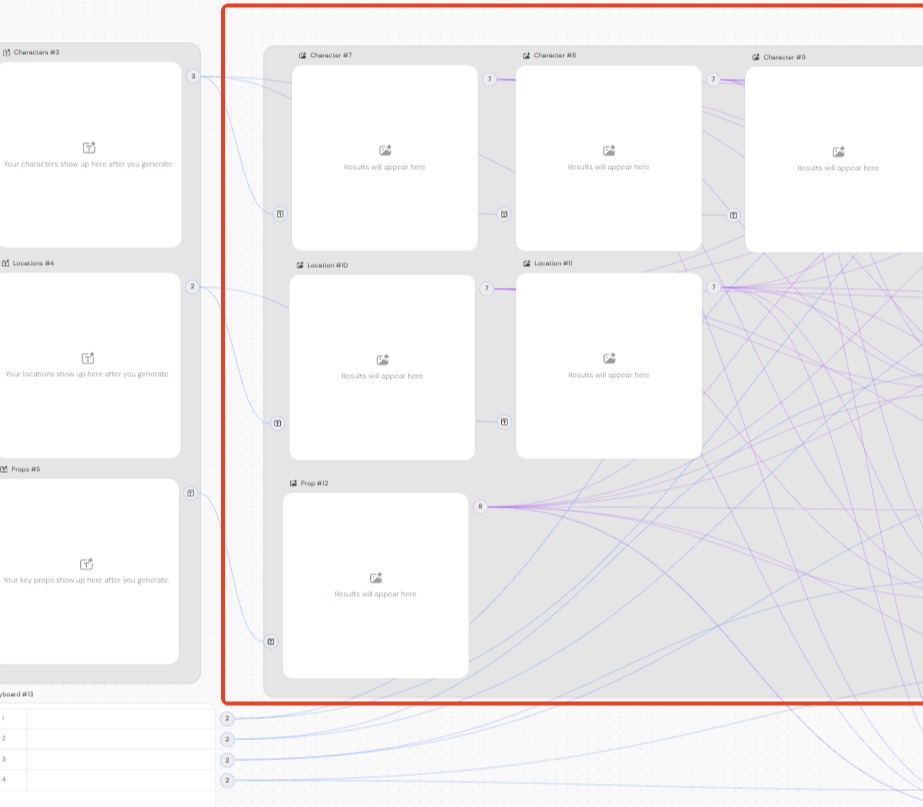
Create the visuals. Once your text descriptions are confirmed, click generate to turn the text into static images. You can also edit the prompts or upload reference materials to guide image generation.
Step 4: Generate Video Shots
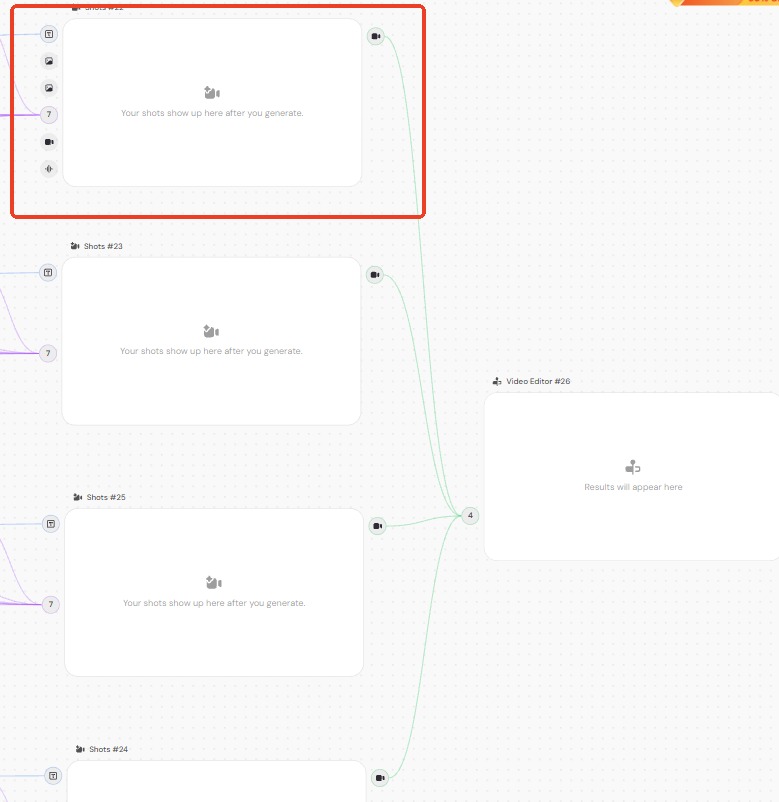
Animate the images. Click generate on the Shots nodes. The system turns your static images into dynamic video clips. You can also adjust the prompts or upload reference materials to guide the movement and actions in each clip.
Step 5: Edit and Export
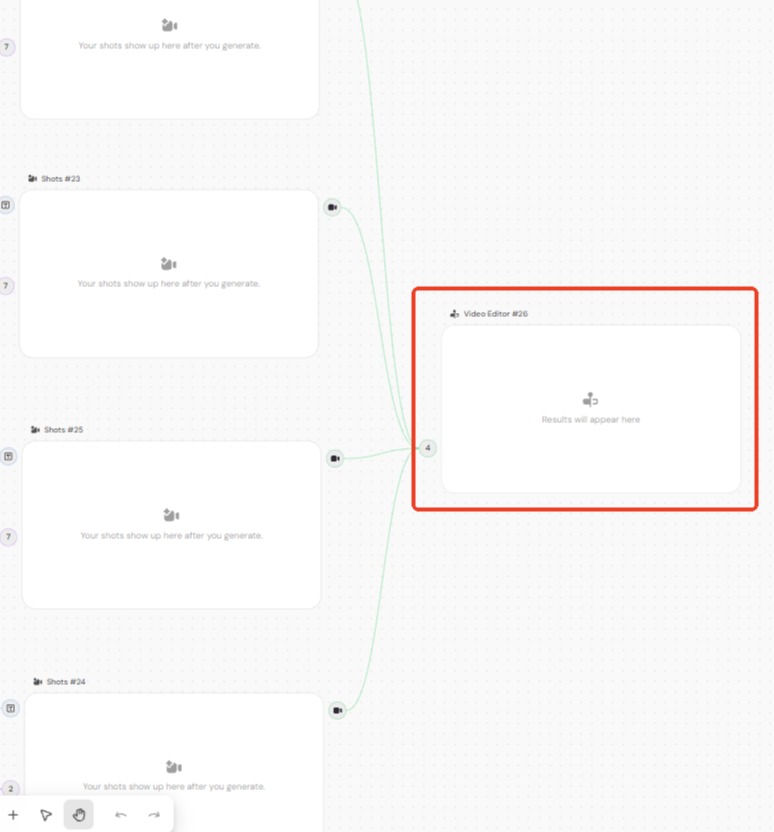
1. Edit the video. All generated clips appear in the Video Editor node on the right. Add subtitles, audio, and sound effects to complete your video.
2. Export your video. Click Download to save your finished short drama.
👉You have everything you need to build your first story.
Start creating your AI short drama on PicLumen now. Combine your script, characters, and scenes into one seamless video directly on the canvas.
Tips for Creating Better AI Short Dramas
Start with a clear story idea
Include the main character, setting, and central conflict so the generated script has a clear direction. You can add more details or adjust the story after reviewing the first draft.
Use reference materials
You don't have to rely on text alone. Upload reference materials in supported prompt fields to guide character appearance, lighting, camera angles, and other visual details.
Give each shot a clear purpose
Use close-ups to show character expressions and wide shots to establish the setting. Keep each shot description focused on the main action so the generated video clips follow the intended sequence.
FAQs
Can I use my own story instead of the built-in prompt?
Yes. Enter your own story in the Story idea node. You can also edit the built-in prompt in the Script node to guide how your story is developed.
Why can't I enter a custom shot size?
Shot sizes are limited to the preset options in the dropdown menu. You can select options such as close-up or wide shot, but you cannot enter custom values or add new options.
Can I add more shots to the storyboard?
Yes. Open the storyboard editor and click Add shot at the bottom left to create a new row. You can then enter the details for the additional shot.
What can I do if a generated image doesn't look right?
You can edit the corresponding image prompt and click Generate again to create a new image. You can also upload reference materials to guide the result.
Can I upload my own video clips into the editor?
The Video Editor combines the clips generated by the platform. You can use it to add subtitles, background music, and sound effects to polish the final output.